Community Sharpening Journal

Discuss Spyderco's products and history.
vivi
Member
Posts: 13846
Joined: Mon Oct 29, 2007 8:15 am

Re: Community Sharpening Journal

#2021

Post by vivi »

Some hand sharpening.

Evened out the bevels on these knives and dropped them maybe 2 degrees or so in the process. 120 grit chefknivestogo diamond plate, cleanly apexed, then two strokes per side on the sharpmaker @ 15dps on fine rods.

Excuse the messy bevels. Tested them out making some fatwood shavings I'll probably use for starting a bonfire later tonight.


Recon Tanto:

Image
Image
Image

SRK

Image
Image
Image
Image
Image
Image

I need to do a better job near the tip on the recon tanto. The main part of the blade pops arm hairs but the section right under the tip doesn't even scrape shave. Awkward angle to sharpen....not sure what I'll ever use that part of the edge for anyways.

If you don't browse the off topic section, I've been fanboying over the SRKC and SRK pretty hard lately. I expect I'll be using this SRK a little more now that the edge is better.....previously my user SRKC outcut it by a pretty wide margin but now their performance is closer.
:unicorn
kennbr34
Member
Posts: 317
Joined: Sun Nov 13, 2022 10:06 am

Re: Community Sharpening Journal

#2022

Post by kennbr34 »

Well, on the topic of Gritomatic's customer service... So far, it's not so good. I had been waiting for 3 days for a response when I got an email asking me to review the device. So I did! Only then did they feel it necessary to reply. It looks like I should have read the reviews more carefully before buying, as this doesn't seem an isolated incident. Oh, and the "...many other incidents..." that Dael M. is alluding to seem to be suspiciously missing.


Image
upload pic
Image
Image

I'm being a little harsh, but I don't feel like it's unwarranted. In the meantime I have already modded the device in a way that restores functionality by supergluing some cut-off pieces of a rubber band on to the metal battery clip, and then carefully aligning it over the posts and securing it over night. Then I tightened the screws only enough to maintain connection between the clip and the solder points, so this way the battery could slide in and out more easily.

Image
Image
Image
benja-man
Member
Posts: 81
Joined: Fri Apr 14, 2023 3:48 pm

Re: Community Sharpening Journal

#2023

Post by benja-man »

Well, there goes another shop I'll be avoiding...
vivi
Member
Posts: 13846
Joined: Mon Oct 29, 2007 8:15 am

Re: Community Sharpening Journal

#2024

Post by vivi »

One of the nice things about setting thin bevels is how quickly the apex can be reset with the sharpmaker.

My EDC these days is an M4 Chief.

I initially set a bevel around 12-13 degrees by hand.

I had been being lazy and touching it up at 20 degrees on the fine rods since the last full sharpening.

I usually edge my knives by setting a bevel on a 120 grit diamond stone around 10dps, getting a clean scrape shaving apex, then giving the knife 1-3 strokes per side on the fine rods at 20 degrees per side to microbevel. So my sharpmaker is usually out already and giving the Chief a few swipes took mere seconds.

Eventually the microserrations got polished off and the edge wanted to slip on certain materials.

So last night I setup the diamond rods in the 15 degree slots and it only took 3 or 4 strokes per side for the entire bevel to be reset. Ran my thumb nail down the apex and the full edge felt rough and gritty instead of smooth and polished.

Swapped out the diamond rods for the mediums and did two strokes per side. Maybe I should have just done one, the microserrations aren't very prominent now.

Either way it slices and push cuts aggressively now. Being M4 this edge should last a few weeks easily.

Entire process took about 90 seconds. So much more efficient than sharpening the full bevel.

Image

Writing this post took longer than sharpening my edc.
:unicorn
benja-man
Member
Posts: 81
Joined: Fri Apr 14, 2023 3:48 pm

Re: Community Sharpening Journal

#2025

Post by benja-man »

vivi wrote:
Thu Oct 12, 2023 7:20 am
One of the nice things about setting thin bevels is how quickly the apex can be reset with the sharpmaker.

My EDC these days is an M4 Chief.

I initially set a bevel around 12-13 degrees by hand.

I had been being lazy and touching it up at 20 degrees on the fine rods since the last full sharpening.

I usually edge my knives by setting a bevel on a 120 grit diamond stone around 10dps, getting a clean scrape shaving apex, then giving the knife 1-3 strokes per side on the fine rods at 20 degrees per side to microbevel. So my sharpmaker is usually out already and giving the Chief a few swipes took mere seconds.

Eventually the microserrations got polished off and the edge wanted to slip on certain materials.

So last night I setup the diamond rods in the 15 degree slots and it only took 3 or 4 strokes per side for the entire bevel to be reset. Ran my thumb nail down the apex and the full edge felt rough and gritty instead of smooth and polished.

Swapped out the diamond rods for the mediums and did two strokes per side. Maybe I should have just done one, the microserrations aren't very prominent now.

Either way it slices and push cuts aggressively now. Being M4 this edge should last a few weeks easily.

Entire process took about 90 seconds. So much more efficient than sharpening the full bevel.

Image

Writing this post took longer than sharpening my edc.
Freehand low profile plus sharpmaker at 15 dps is my foolproof method for great edges as well.

Currently I'm practicing my freehand skills though, using my newly acquired trio of Spyderco bench stones (impulse buy triggered by them being discontinued).
vivi
Member
Posts: 13846
Joined: Mon Oct 29, 2007 8:15 am

Re: Community Sharpening Journal

#2026

Post by vivi »

smart move. i've been considering back-ups since I like mine so much. only reason i've been holding off is to see if spyderco announces any new sharpening stuff any time soon.
:unicorn
Bemo
Member
Posts: 1299
Joined: Sat Jul 27, 2019 6:00 pm
Location: Boise Idaho

Re: Community Sharpening Journal

#2027

Post by Bemo »

Vivi I love your approach.
kennbr34
Member
Posts: 317
Joined: Sun Nov 13, 2022 10:06 am

Re: Community Sharpening Journal

#2028

Post by kennbr34 »

benja-man wrote:
Wed Oct 11, 2023 6:06 pm
Well, there goes another shop I'll be avoiding...
Well they eventually made it right and issued a refund, so I will still say they're good in the end.
vivi
Member
Posts: 13846
Joined: Mon Oct 29, 2007 8:15 am

Re: Community Sharpening Journal

#2029

Post by vivi »

kennbr34 wrote:
Fri Oct 13, 2023 12:36 pm
benja-man wrote:
Wed Oct 11, 2023 6:06 pm
Well, there goes another shop I'll be avoiding...
Well they eventually made it right and issued a refund, so I will still say they're good in the end.
good to hear. gritomatic is where I've purchased my stropping supplies for years.
:unicorn
User avatar
Deadboxhero
Member
Posts: 2179
Joined: Tue Mar 01, 2016 4:35 am
Contact:

Re: Community Sharpening Journal

#2030

Post by Deadboxhero »

kennbr34 wrote:
Fri Oct 06, 2023 2:22 pm
a laser goniometer is quite an eye-opener, We can objectively see that nobody gets exactly what edge angle they think they are creating in reality unless using a fixed angle jig and even then there are limits due to the fact that steel itself does not form a perfect microscopic v apex, the elastic and plastic nature of steel means you are either left with a wispy straightened out burr or some micro convexity or just not even apexed/ blunt, but never the infinite V point apex like our imaginations thinks of.

Oftentimes we have people saying they get a 10 degree per side edge when in reality if measured, there are probably all closer to 20° per side at the actual apex but blended down from a 10° with convexing.

Freehand will never truly create an exact angle, ever, even with angle guides on a stone so I feel angle wedge guides on stones are a waste of time and money since they give an illusion of precision. However, freehand sharpening is not about an exact angle, It's about having enough consistency to blend a small range of angles to a burr free apex.

A fixed angle jig system will be able to get an exact angle, but it doesn't mean it'll be burr free. So at the end of the day it's the burr removal that is the most important.


Image

The faint lines at the end are the microconvexity of the actual apex.

However, there are some cases where it can be artifact from a coarse hand pulled satin finish where the blade grind scratches are parallel to the edge.

That isn't the case with that knife you are showing.
Big Brown Bear
https://www.youtube.com/user/shawnhouston
Triple B Handmade Knives
kennbr34
Member
Posts: 317
Joined: Sun Nov 13, 2022 10:06 am

Re: Community Sharpening Journal

#2031

Post by kennbr34 »

Deadboxhero wrote:
Fri Oct 13, 2023 7:15 pm
kennbr34 wrote:
Fri Oct 06, 2023 2:22 pm
a laser goniometer is quite an eye-opener, We can objectively see that nobody gets exactly what edge angle they think they are creating in reality unless using a fixed angle jig and even then there are limits due to the fact that steel itself does not form a perfect microscopic v apex, the elastic and plastic nature of steel means you are either left with a wispy straightened out burr or some micro convexity or just not even apexed/ blunt, but never the infinite V point apex like our imaginations thinks of.

Oftentimes we have people saying they get a 10 degree per side edge when in reality if measured, there are probably all closer to 20° per side at the actual apex but blended down from a 10° with convexing.

Freehand will never truly create an exact angle, ever, even with angle guides on a stone so I feel angle wedge guides on stones are a waste of time and money since they give an illusion of precision. However, freehand sharpening is not about an exact angle, It's about having enough consistency to blend a small range of angles to a burr free apex.

A fixed angle jig system will be able to get an exact angle, but it doesn't mean it'll be burr free. So at the end of the day it's the burr removal that is the most important.


Image

The faint lines at the end are the microconvexity of the actual apex.

However, there are some cases where it can be artifact from a coarse hand pulled satin finish where the blade grind scratches are parallel to the edge.

That isn't the case with that knife you are showing.
It makes me wonder how Larrin Thomas measures the edge angles for the data he compiles. Like does he just use a jig or confirm it with a goniometer?

Could you elaborate more on the scratch pattern orientation that you labeled in that?

Here's another interesting one. This knife was sharpened with a jig, but it was basically one of those clamps that hold the blade at an angle while you grind on a whetstone.

Image

What are those weird crescent shaped lines that go from 10-24 before going off the scale? Then there's also a faint little reflection on the left side of the scale by the thirty, so should this be considered to be 30 degrees? Looking at it under 120x definitely shows a small convex bevel at the very apex, and it seems almost like it never got fully apexed. This WAS one of the very first knives I sharpened years ago and haven't touched since, so it would make sense if that were the case. It makes me wonder if the factory aimed for 25 degrees and really got 30 and I just never got to the apex.

When you mention that grind scratches parallel to the edge can create artifacts, how coarse are you talking? I often pull the edge across a 600 grit DMT pocket hone to do touch ups so there's definitely some grind patterns parallel to the edge on some of these, but is 600 grit coarse enough to cause the artifact you describe? Here's an example of such an edge...

Image

So there's the main bevel clearly reflected at 14dps, but then that faint reflection on either side that extends all the way to the 25, should I read that as the actual apex or is that an artifact? I notice that the dimmer the laser gets, the less those faint marks remain.

This is all very interesting and as you said pretty enlightening as far as what's going on at a microscopic level. It also makes me wonder how it affects edge retention. Would it it be better if there wasn't that 25 degree angle at the very apex, or is that so microscopic that it doesn't affect it as much as the main bevel? I would imagine if I reduced the main bevel angle in an attempt to reduce the angle at the very apex by a proportional amount that it probably wouldn't actually give me the effect I hoped, and would leave the edge weaker even if there was still the 25 degree convexity at the apex?

I gotta say a part of me wishes I'd remained blissfully ignorant :'D
User avatar
Deadboxhero
Member
Posts: 2179
Joined: Tue Mar 01, 2016 4:35 am
Contact:

Re: Community Sharpening Journal

#2032

Post by Deadboxhero »

kennbr34 wrote:
Fri Oct 13, 2023 8:49 pm


It makes me wonder how Larrin Thomas measures the edge angles for the data he compiles. Like does he just use a jig or confirm it with a goniometer?
Don't worry, Dr Larrin is in good hands. We've worked very closely together on the CATRA project and I helped share some input on the edge design. We both use CATRA Goniometers and Edge Pro sharpening systems for controlled edge testing work so we can see differences in what's being controlled for like steels, heat treatments, etc rather then scatter from different geometries or edges etc unless that's what specifically being tested for.


So, this information isn't necessarily 2023 brand new, It was very important knowledge to learn in 2019 for the 2020 CATRA project but I suppose no one has really taken the time to get into lots of detail with the public.


Yes, the rabbit hole goes deeper, Just when you think you understand it, there's a whole new level to explore. It never gets boring and you never stop learning.

I'll make a video when I finish up the projects I'm working on.
Big Brown Bear
https://www.youtube.com/user/shawnhouston
Triple B Handmade Knives
Cycletroll
Member
Posts: 803
Joined: Sun Oct 22, 2017 4:12 pm
Location: North Central New Mexico

Re: Community Sharpening Journal

#2033

Post by Cycletroll »

Really appreciate the depth of detail of your input Shawn. Thank you!
User avatar
Cl1ff
Member
Posts: 1129
Joined: Fri Sep 13, 2019 4:35 pm
Location: Florida

Re: Community Sharpening Journal

#2034

Post by Cl1ff »

I’ve learned a good bit from this “laser focused” discussion already.
Thanks for sharing these insights and asking questions y’all.

I recently started using and sharpening this knife. I’m still making mistakes, but I’m getting better at actually seeing what these mistakes are doing to my edge, thanks to experience and my loupes.

While these bevels aren’t my most even, my sharpness is steadily increasing without changing abrasives. I’m using Spyderco’s CBN plate. This edge is apexed/deburred at 400 and then 800, if I remember what each side is supposed to be.

Consistently shaving hair despite being very toothy. The teeth just cut better and give me longer lived working edges.

Sorry for this barrage of pictures!

First up is the edge it came with, which self destructed quickly during normal use. In this first pic, some of the deformation is reflecting light, but the entire edge was deformed.

Image

Now I’ve sharpened it a bit.
Brought the angle lower, if asymmetrically, lower grit, and sharpened the edge all the way back.
These pictures are after the same use as the original edge. No visible deformation except for a little damage at the tip’s apex. It still mostly scrape shaves and is very toothy.

Image
Image
Image

Image

Image

Image

Image


Image

Image

You can see all of my mistakes, as well as what I think I’ve done fairly well on, but I won’t write any more of a novel.

I am curious how it’d show up in the laser thing and to what degree it is asymmetrical. I could have been more careful and done a better job, and I have before.
rex121 is the king of steel, but nature’s teeth have been cutting for hundreds of millions of years and counting :cool:
User avatar
Deadboxhero
Member
Posts: 2179
Joined: Tue Mar 01, 2016 4:35 am
Contact:

Re: Community Sharpening Journal

#2035

Post by Deadboxhero »

Now THAT is how you use a loupe to take pictures.


Cliff, if you have the time, could you start a new thread teaching people how to take pictures of an edge with a loupe? I feel that would be very beneficial for everyone here if we could all start sharing pictures of the edges with magnification and a quality loupe is quite cheap. This is probably the best way for us all to communicate edges. I think the smartphone technology has better cameras than what a cheap USB microscope can produce. It's also easier to share the content.


Excellent work.
Cl1ff wrote:
Sat Oct 14, 2023 9:26 am
I’ve learned a good bit from this “laser focused” discussion already.
Thanks for sharing these insights and asking questions y’all.

I recently started using and sharpening this knife. I’m still making mistakes, but I’m getting better at actually seeing what these mistakes are doing to my edge, thanks to experience and my loupes.

While these bevels aren’t my most even, my sharpness is steadily increasing without changing abrasives. I’m using Spyderco’s CBN plate. This edge is apexed/deburred at 400 and then 800, if I remember what each side is supposed to be.

Consistently shaving hair despite being very toothy. The teeth just cut better and give me longer lived working edges.

Sorry for this barrage of pictures!

First up is the edge it came with, which self destructed quickly during normal use. In this first pic, some of the deformation is reflecting light, but the entire edge was deformed.

Image

Now I’ve sharpened it a bit.
Brought the angle lower, if asymmetrically, lower grit, and sharpened the edge all the way back.
These pictures are after the same use as the original edge. No visible deformation except for a little damage at the tip’s apex. It still mostly scrape shaves and is very toothy.

Image
Image
Image

Image

Image

Image

Image


Image

Image

You can see all of my mistakes, as well as what I think I’ve done fairly well on, but I won’t write any more of a novel.

I am curious how it’d show up in the laser thing and to what degree it is asymmetrical. I could have been more careful and done a better job, and I have before.
Big Brown Bear
https://www.youtube.com/user/shawnhouston
Triple B Handmade Knives
benja-man
Member
Posts: 81
Joined: Fri Apr 14, 2023 3:48 pm

Re: Community Sharpening Journal

#2036

Post by benja-man »

Absolutely agree, would love to learn how to take pictures like this.
kennbr34
Member
Posts: 317
Joined: Sun Nov 13, 2022 10:06 am

Re: Community Sharpening Journal

#2037

Post by kennbr34 »

Deadboxhero wrote:
Fri Oct 13, 2023 11:57 pm
kennbr34 wrote:
Fri Oct 13, 2023 8:49 pm


It makes me wonder how Larrin Thomas measures the edge angles for the data he compiles. Like does he just use a jig or confirm it with a goniometer?
Don't worry, Dr Larrin is in good hands. We've worked very closely together on the CATRA project and I helped share some input on the edge design. We both use CATRA Goniometers and Edge Pro sharpening systems for controlled edge testing work so we can see differences in what's being controlled for like steels, heat treatments, etc rather then scatter from different geometries or edges etc unless that's what specifically being tested for.


So, this information isn't necessarily 2023 brand new, It was very important knowledge to learn in 2019 for the 2020 CATRA project but I suppose no one has really taken the time to get into lots of detail with the public.


Yes, the rabbit hole goes deeper, Just when you think you understand it, there's a whole new level to explore. It never gets boring and you never stop learning.

I'll make a video when I finish up the projects I'm working on.
I look forward to the video!

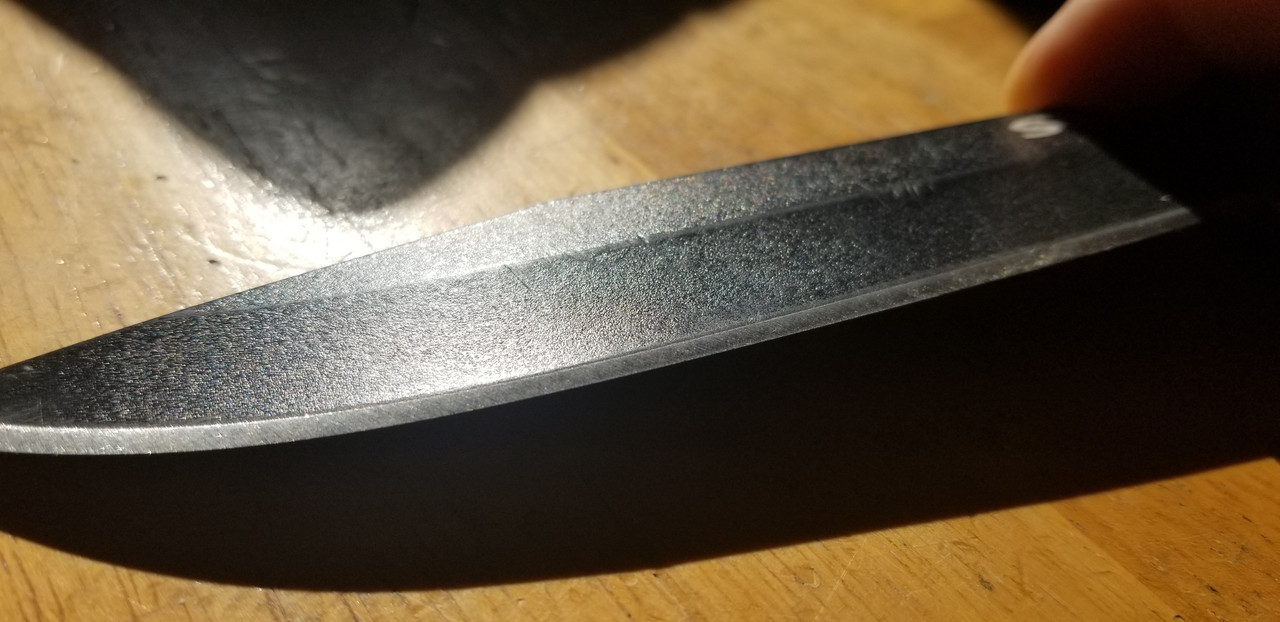
I have been playing my loupe to try to see this change in geometry at the apex, but even at 120x I am not sure if I can really make it out. It's almost like there's the faintest of reflections at the very apex, and I have to be viewing it at a very specific angle to see it. However it also seems like it could be a burr, because it's quite jagged and only appears on one side. And I did just freshly regrind this one today too.

It's really got me second guessing things a lot. Especially the way the brightness of the laser affects the readout. Take the following images for example. The top one is after the laser has been running for about half a minute, and the second one is of it right after it's turned on. The one where it's dimmer would have me believing I hit my intended 15 degree mark +/- 1 degeee, but the one where it's still very bright has those very faint reflections extending out to as far as 18 degrees.

But is it glare, or an actual change of geometry at the very apex?

Image
Image

Here's a view of that effect with just the laser beam.

You can see in the picture with it just turned on, there seems to be a lot of glare. Note the diagonal lines eminating from the 0 mark and the kind of "aura" around it. Now the lines themselves are etched, so it makes me wonder if the light is reflecting off of those and creating those lines, but I am not really sure how to account for that "aura" around it.

On the other hand, when the laser has had a chance to run, that glare and the aura go away and we get a nice crisp dot.

Image
Image

So I'm not really sure what to make of that. Part of me thinks my desire to want my edges to be dead on to the geometry I intended is coming up with ways to excuse the readings I am getting, but on the other hand if the laser is producing similar glare when there's not even an edge bisecting it, that seems to support the idea that there would be glare coming off the ends of the reflections when there is a blade there bisecting it--however in that state it also shows me what I want to see so it makes me question my objectivity there.

One thing I also notice looking at these two examples of the laser freshly turned on with and without a blade, is that the "aura" seen in the pics without a blade seems to extend out to almost the same extent that it extends beyond the 15 degree mark in the pic with a blade present, though not exactly. (Though that would make sense if that "aura" is dependent on beam brightness).

So I don't know. I feel like maybe I should be waiting for the beam to kind of "dim" out and for the scale to be free of that aura before measuring, but also wondering if I am just fooling myself in thinking that because it confirms the results I wanted.

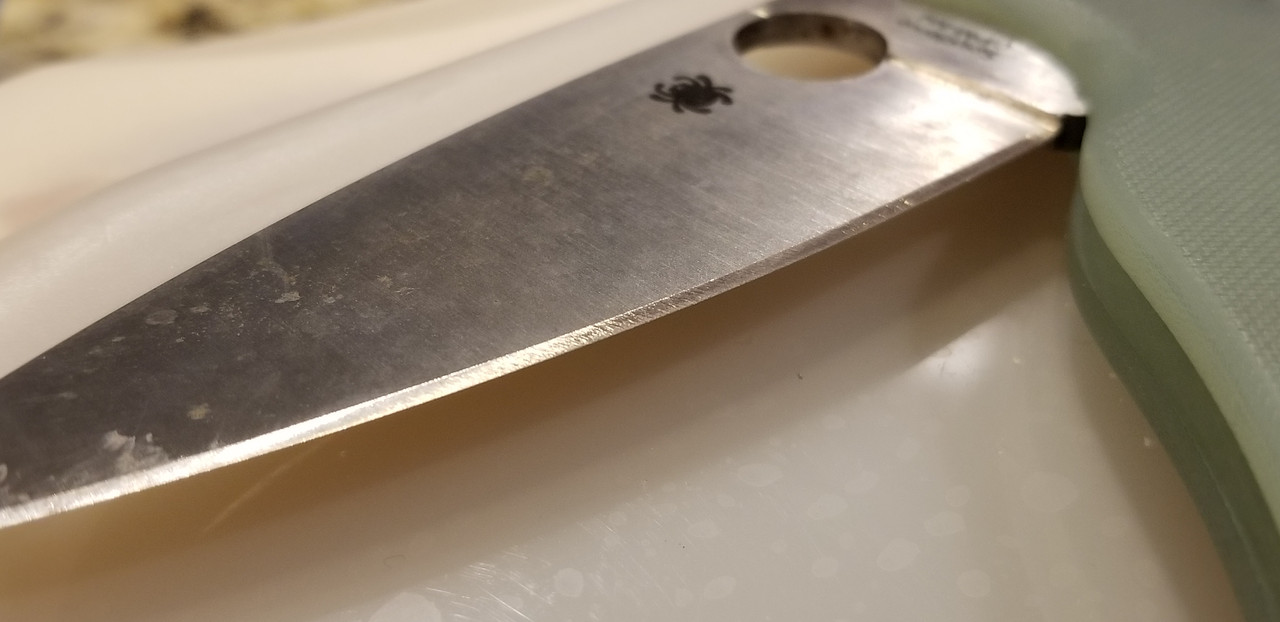
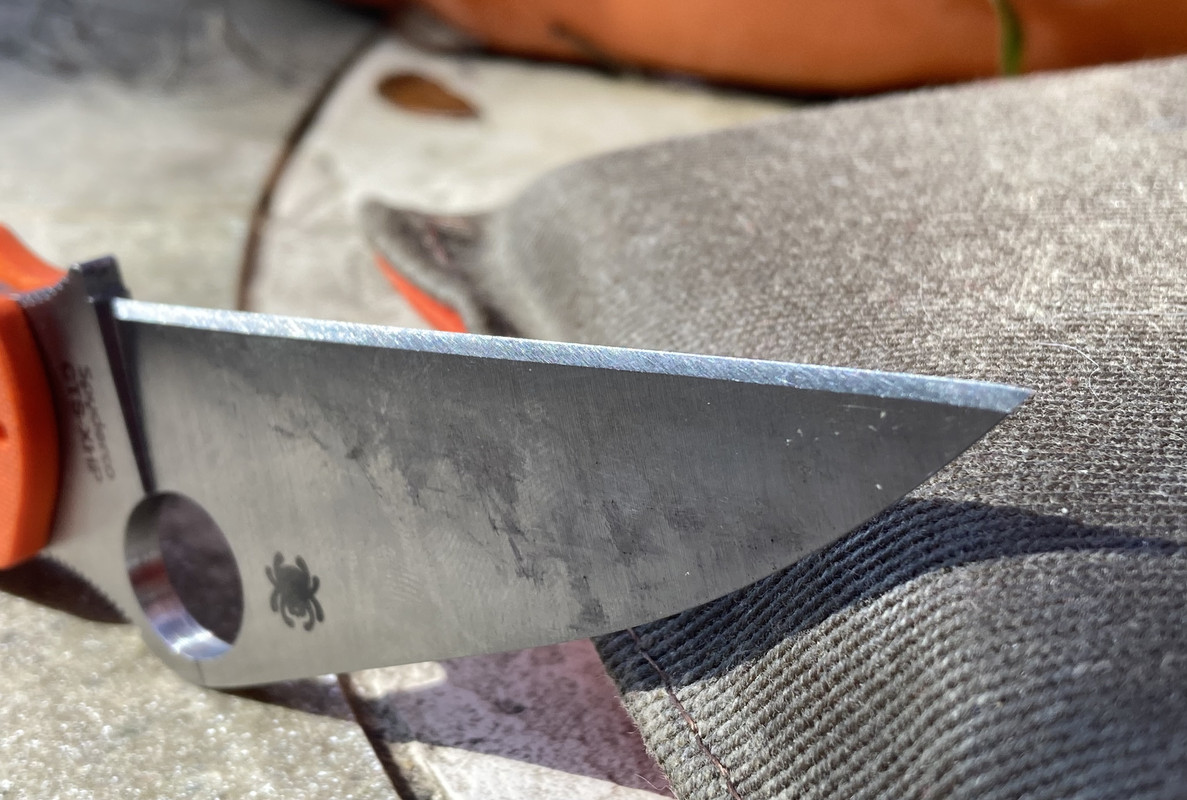
Another thing to look at in this whole consideration is the primary blade grind. Having measured that with a pair of if calipers and using trig, I worked those out to about 2.5 DPS. Looking at the reflection from the laser, when it's super bright it tends to span an entire degree, but when it's dim it makes a much smaller little dot. And while in that picture it's showing it on the 2 degree mark because my hand was wavering trying to hold the knife and take pictures, when I hold the blade in the device and the knife steady then the two finer dots of the dim laser are equidistant at 2.5. So that seems to be more evidence supporting the idea that the beam should be allowed to dim out a bit before taking a measurement.

Anyway, as I said I am second guessing myself a lot. And probably overthinking it. But I wanted this tool to be more accurate so I want to be for sure I am definitely using it right.
TimButterfield
Member
Posts: 197
Joined: Tue Sep 19, 2023 12:38 pm
Location: Anacortes, WA / Livingston, TX

Re: Community Sharpening Journal

#2038

Post by TimButterfield »

I'm not an expert at this, but your comments have me wondering some things. So, I'll ask the questions in case it helps you also.

Do you see the aura with your eye or could it be an artifact of the camera optics?

I know that heat can cause material to expand and some heat may be generated by the laser (even if only a small amount and only internally). Could it be that this needs to happen before the laser 'settles' into the dot of normal operation compared with a cold start? Does starting it after it is colder (chilled) make for a larger aura (or a longer time to settle) compared with starting when warm/hot? If so, this may further reinforce the idea of needing to let it settle after startup before it is used.
GarageBoy
Member
Posts: 2225
Joined: Sun Nov 14, 2004 6:49 pm
Location: Brooklyn NY

Re: Community Sharpening Journal

#2039

Post by GarageBoy »

Shawn, for regular nerds, do you have a preference between the CATRA hobby goinometer vs the Griotomatic one?

On a side note - is there still a reason to pick Norton India and Crystolon stones in 2023? Japanese water stones work "better" and come in more grits. Diamonds in all flavors work better for reprofiling and vanadium rich steels. Also don't have to deal with the oil (I personally can't feel for burrs with poly fingers), the okay at best feedback, and the horrible oily swarf-y/gritty oil. Is it just the "traditional choice" at this point or are there some advantages I'm missing?
User avatar
p_atrick
Member
Posts: 1554
Joined: Fri Jun 16, 2017 5:35 pm
Location: Boston Area

Re: Community Sharpening Journal

#2040

Post by p_atrick »

GarageBoy wrote:
Mon Oct 16, 2023 2:50 pm
On a side note - is there still a reason to pick Norton India and Crystolon stones in 2023?
Isn't Cystolon their name for silicon carbide? I think there is a good reason to get silicon carbide over alumina oxide (what I normally associate with Japanese water stones), but I much prefer the King Neo (purchased from Shawn) because there is no oil, nor do I have to soak it. Norton does provide good value for money, but I'd rather spend a bit more for what Gritomatic or Shawn sells.
Post Reply