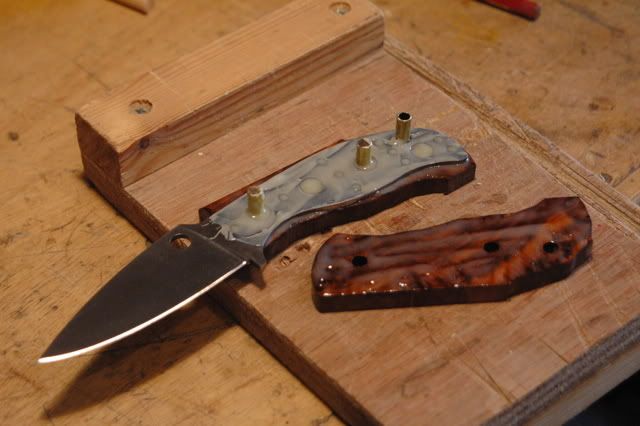
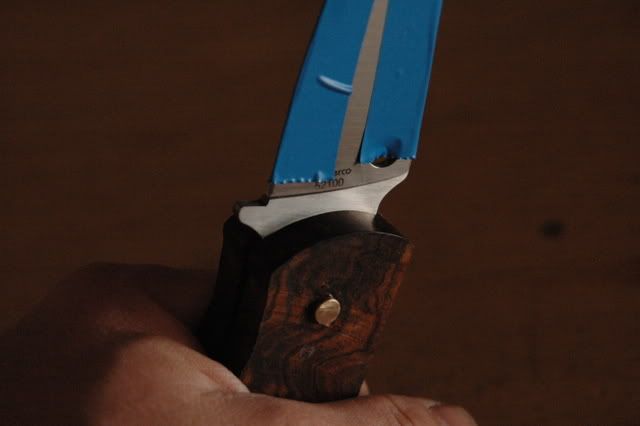
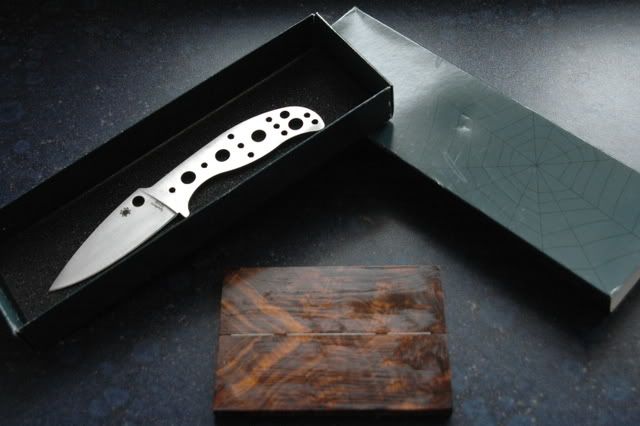
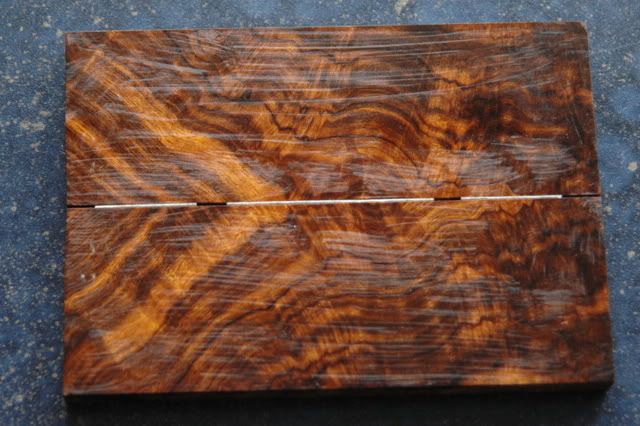
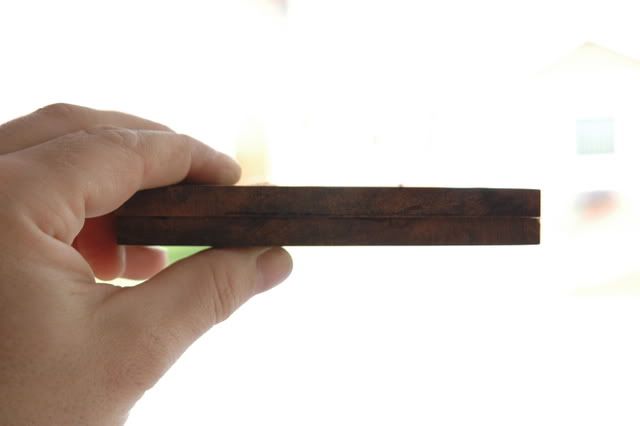
First a picture of the raw materials, a Mule blade in 52100 steel and some Desert Ironwood.
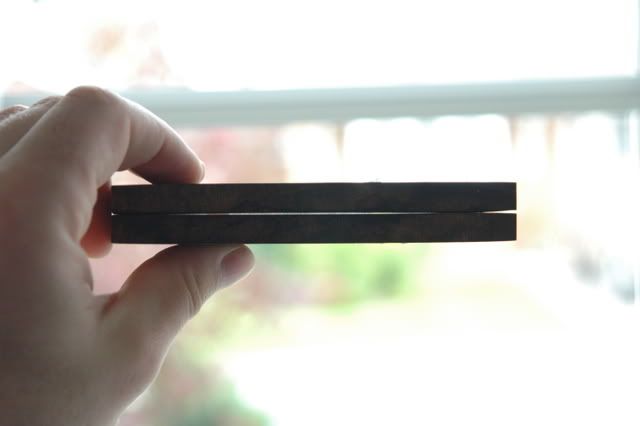
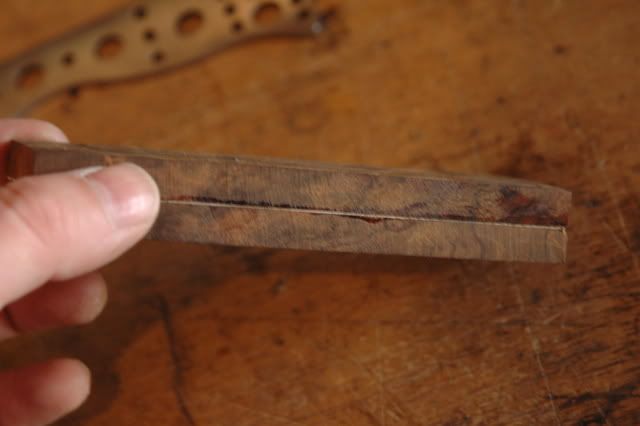
This pic shows that the scales need to be flattened.
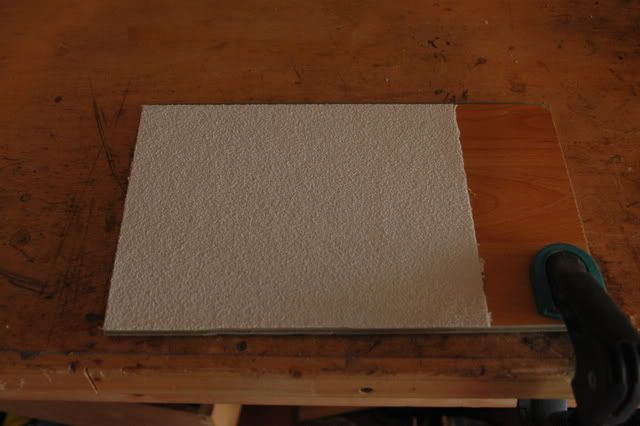
To do this I have secured some 40 grit paper to a piece of laminate flooring. The laminate is useful stuff as it is flat.
Once the scales are flat I changed to a finer grit...
and checked them by holding them up to the light. There is a slight gap at one corner but I'm not going to use this part of the scales.
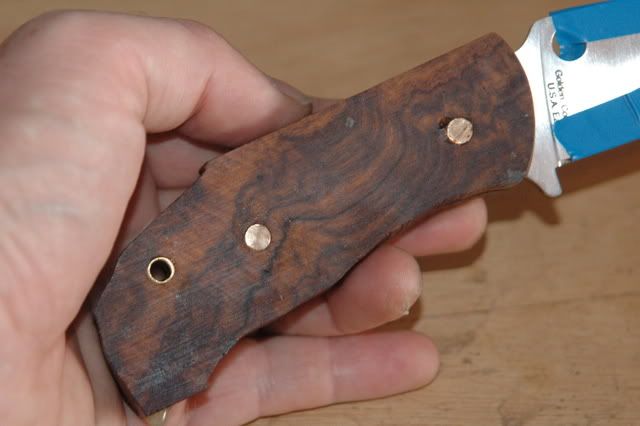
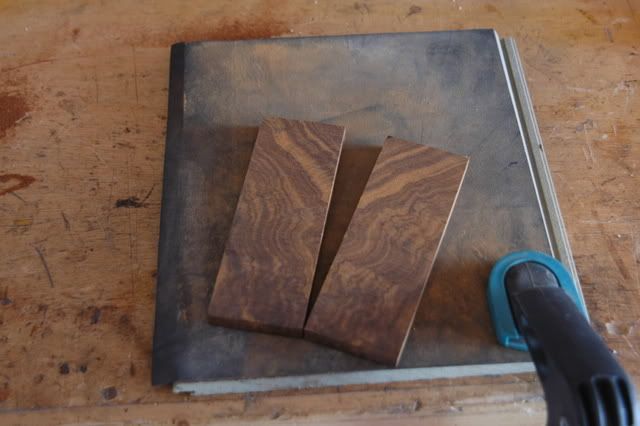
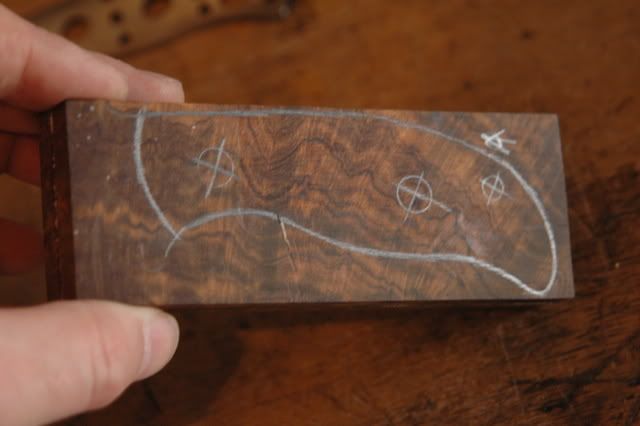
The next step is to use double sided tape to hold the two scales together. This means I can treat the two scales as one block.
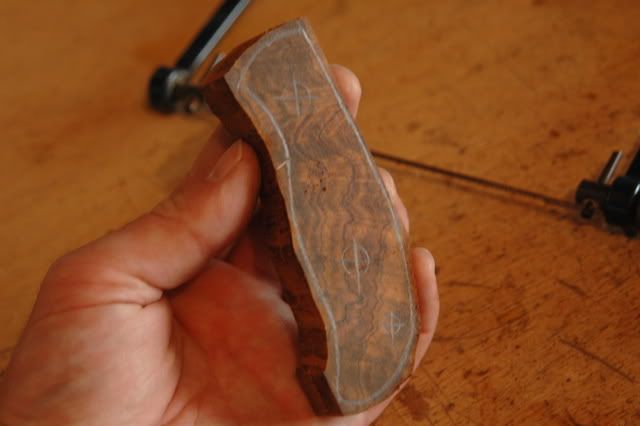
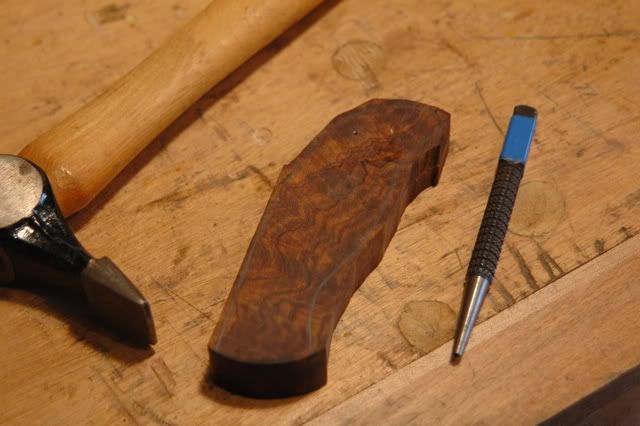
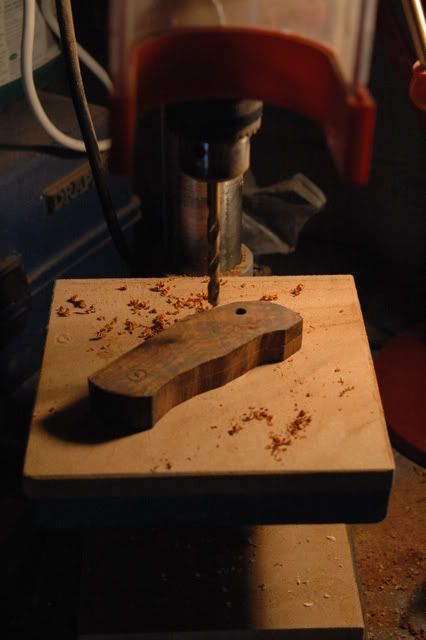
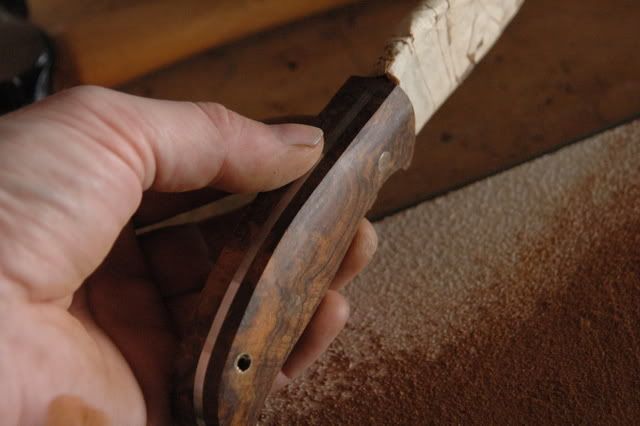
and mark out the rough outline of the handle. I spent a bit of time looking at the figure in the wood to make sure I get the best out of the block.
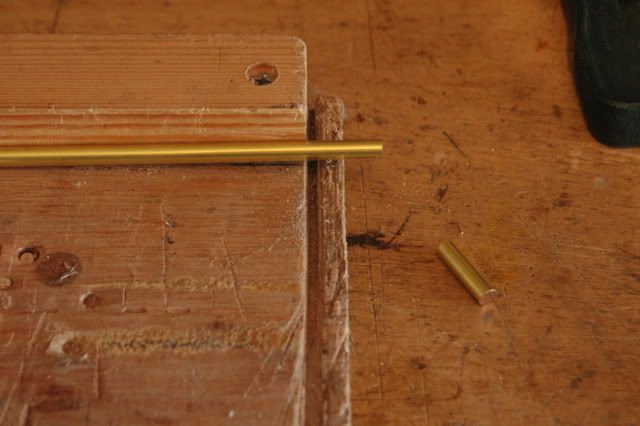
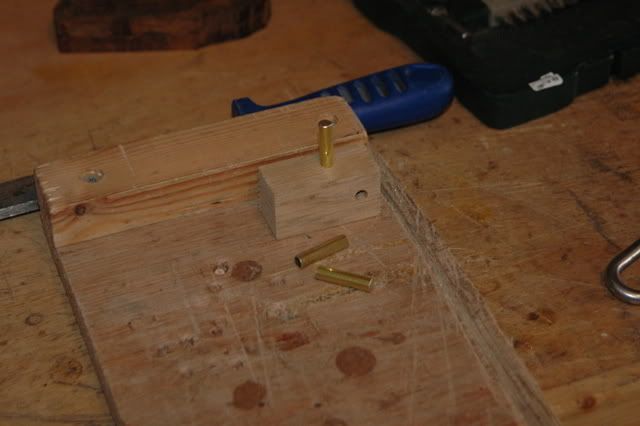
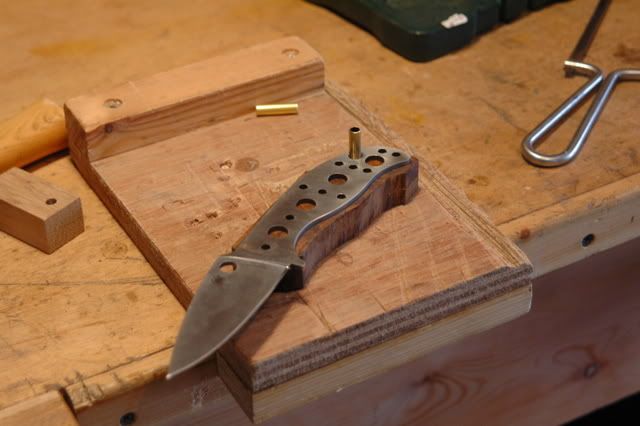
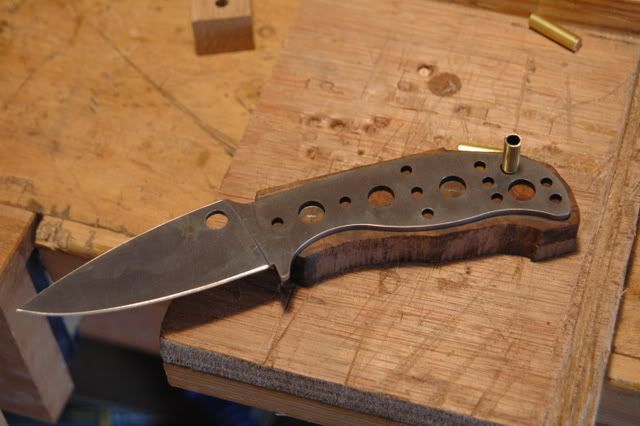
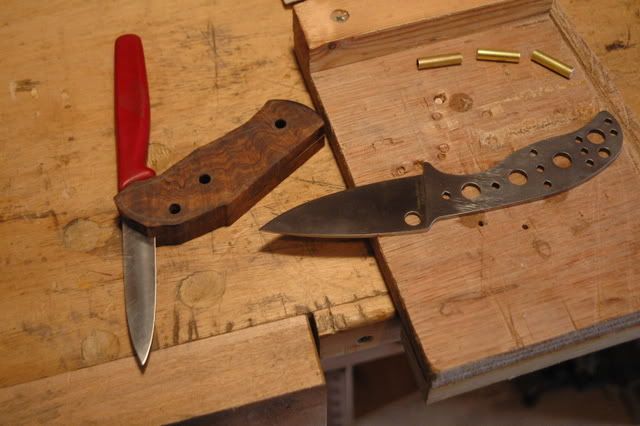
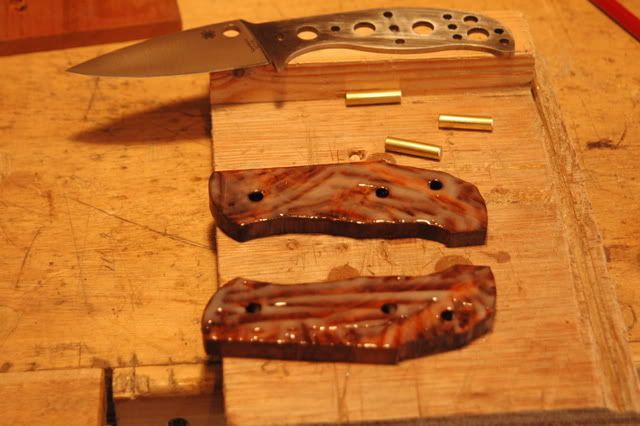
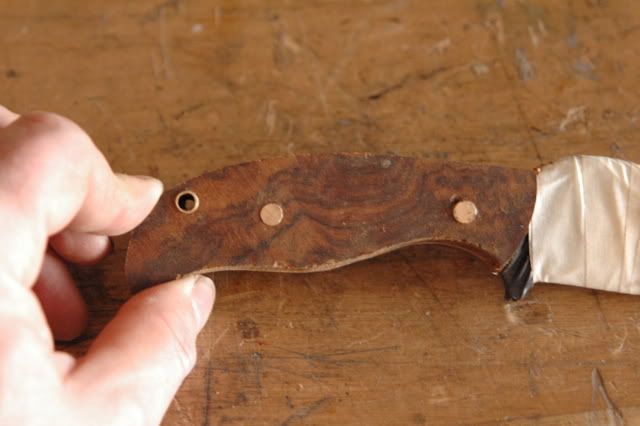
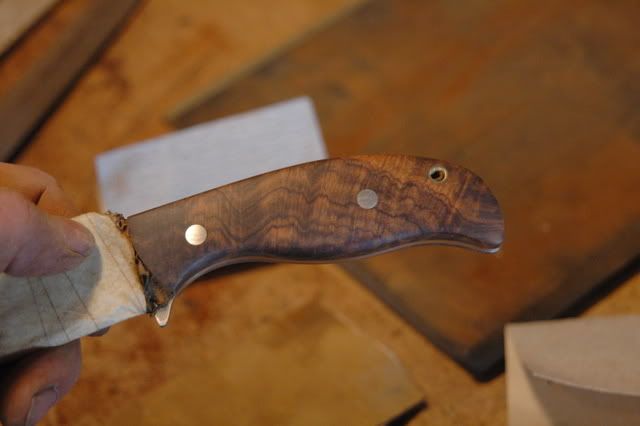
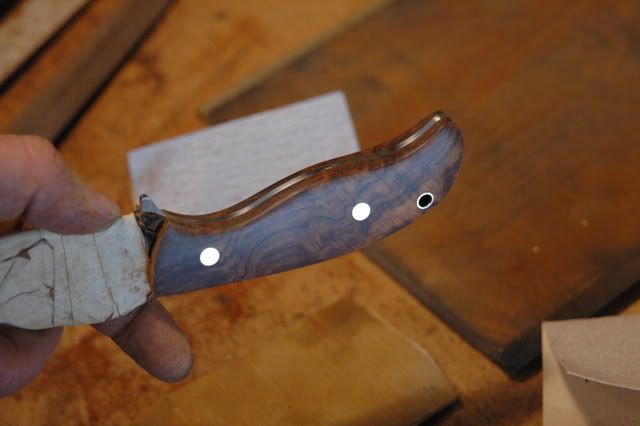
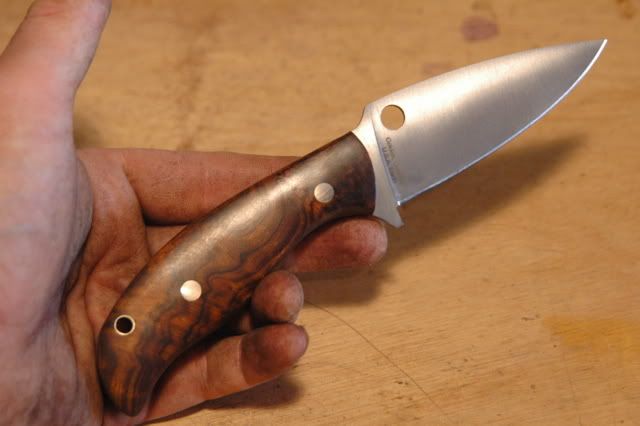
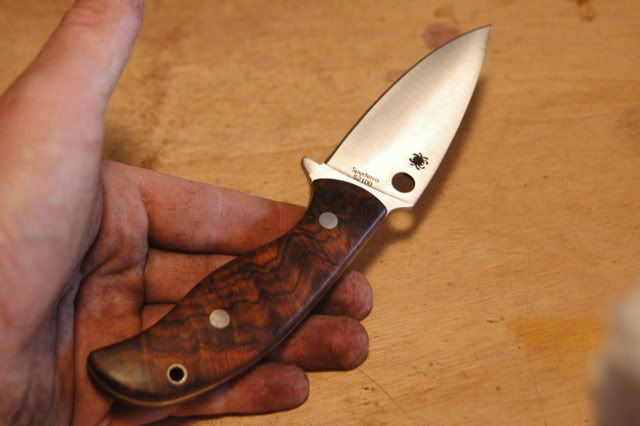
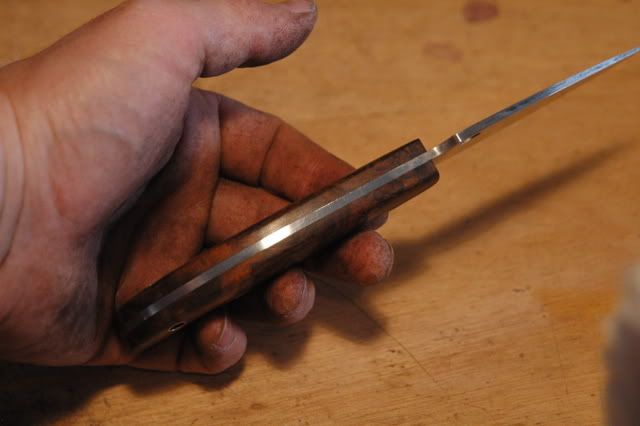
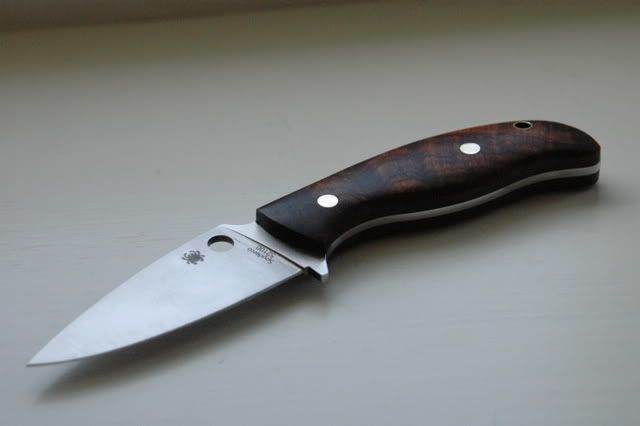
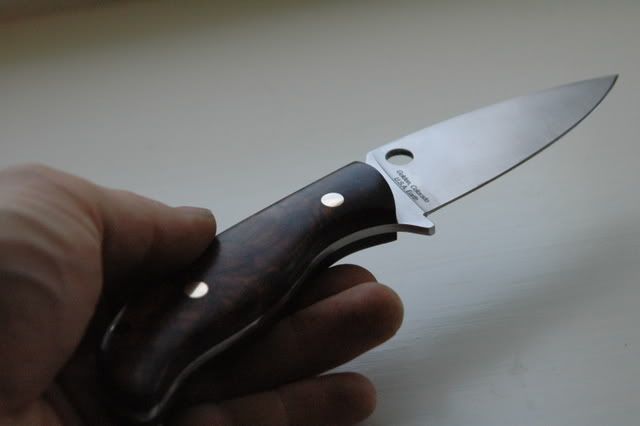
There a lots of different holes in the blade for different pin configurations. we're going to use to 6mm brass pins and a 6mm brass lanyard hole.
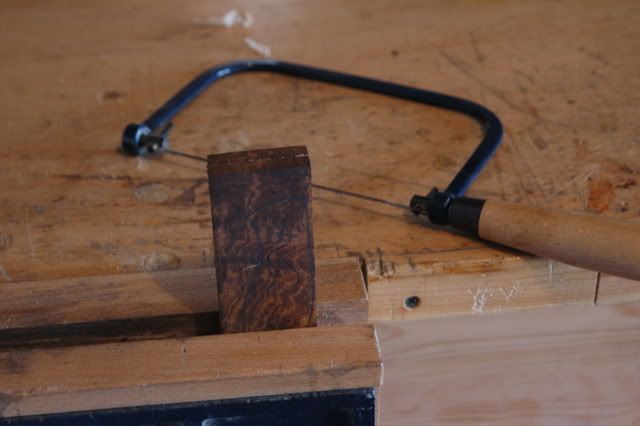
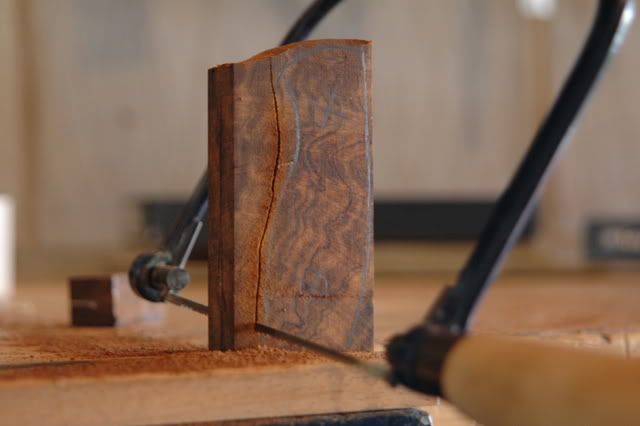
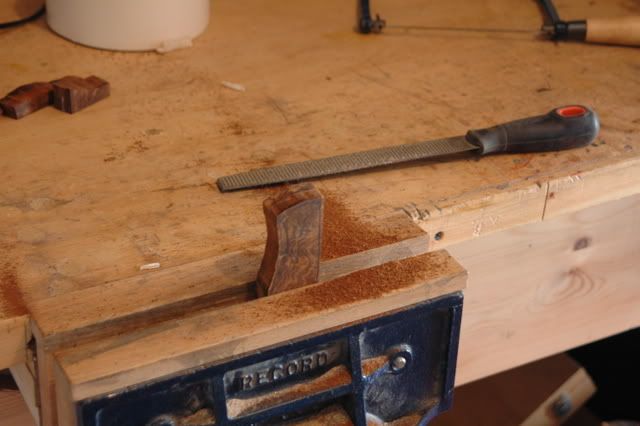
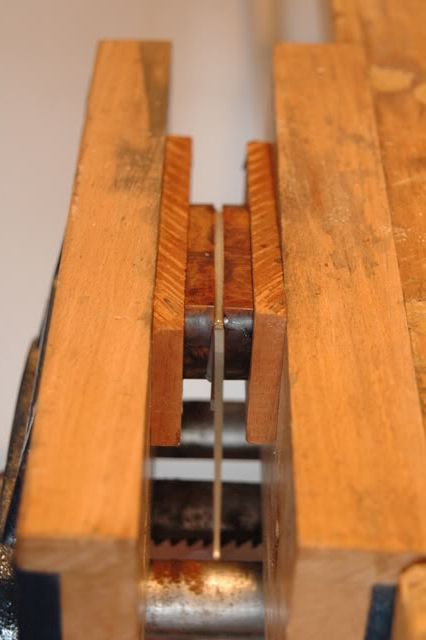
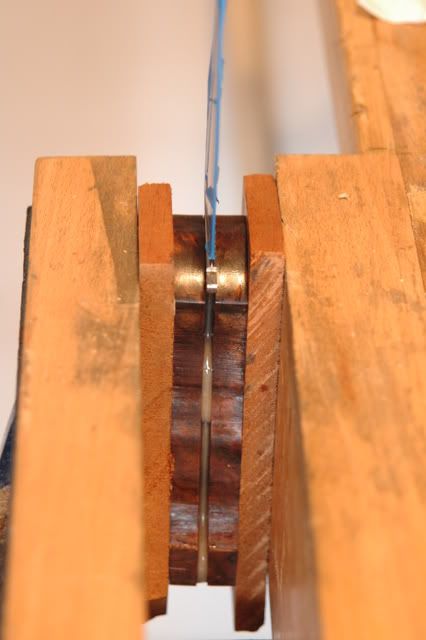
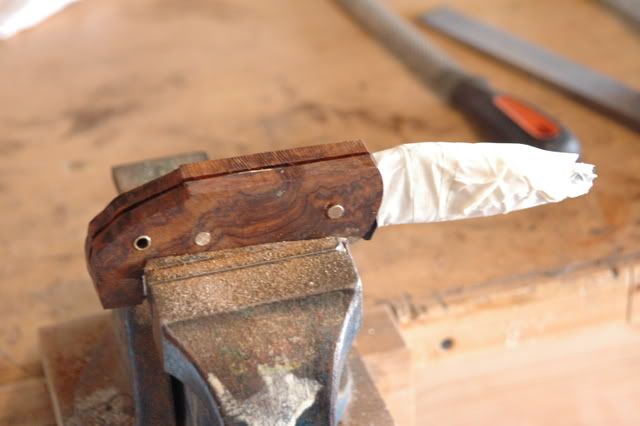
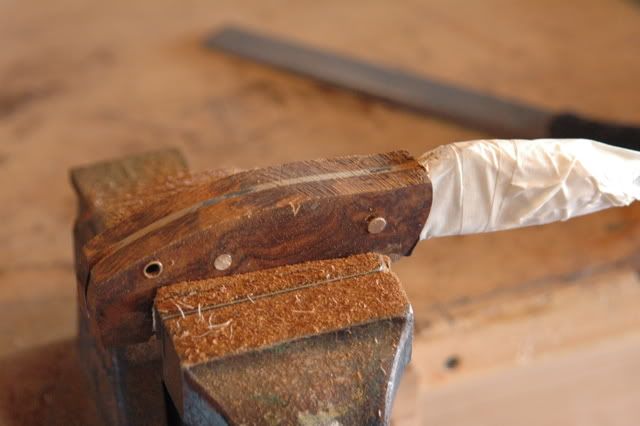
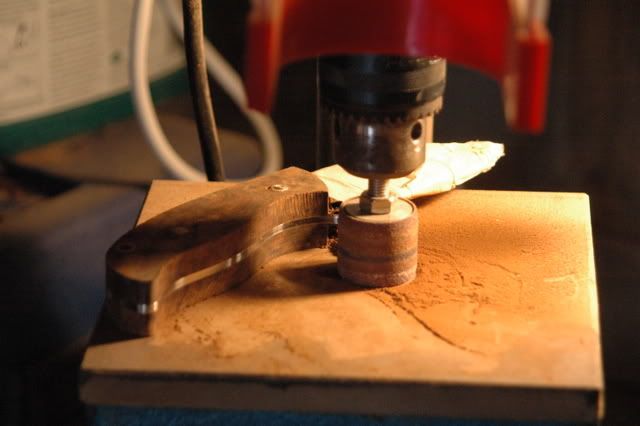
Now to rough out the outline of the handle with a coping saw.