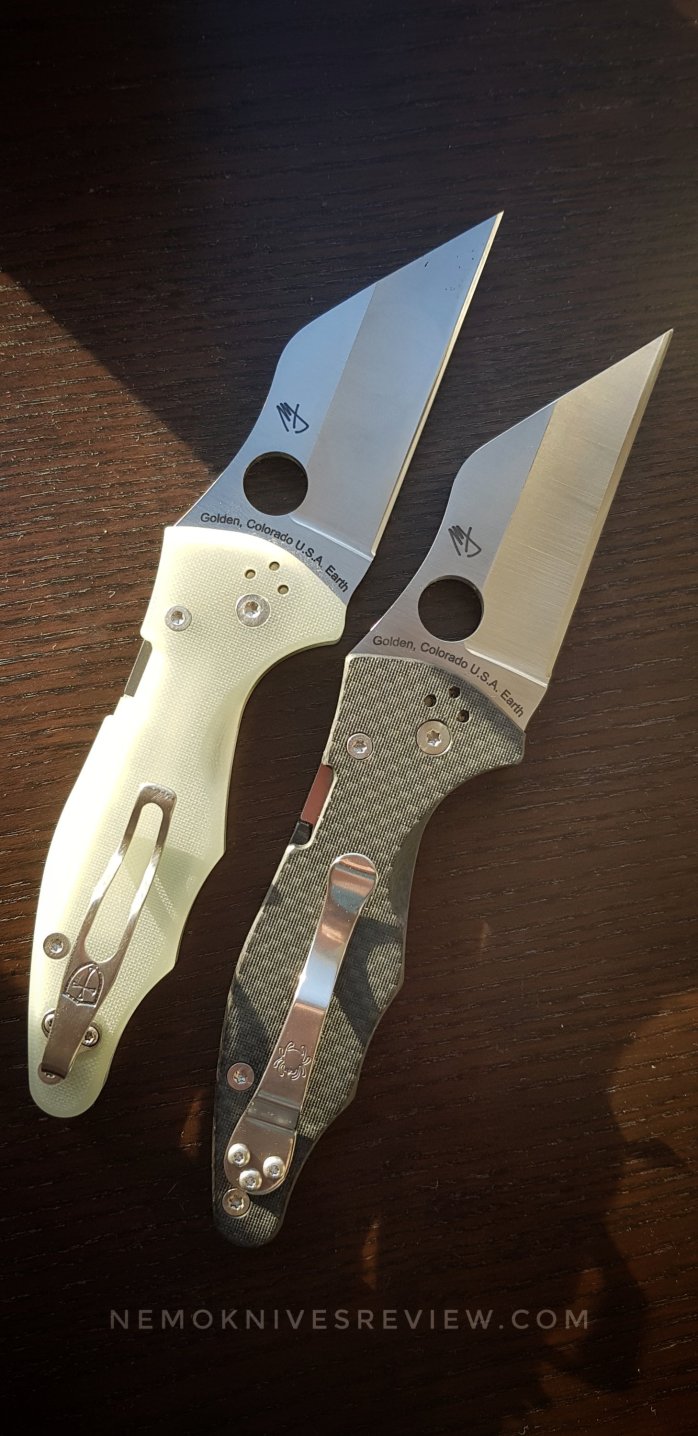
Re: Jade/M4 Yojimbo
Posted: Wed Oct 10, 2018 12:19 pm
Yep I'm still loocking for a "like" button.... ;-)
legOFwhat? wrote: ↑Wed Oct 10, 2018 8:51 am@LC are you not adding hydrogen peroxide to the acid or rather adding the acid to the peroxide? (always add acid!)
I usually follow a similar method to this:https://www.instructables.com/id/AcidBr ... g-A-Knife/. Using muriatic acid along with the HP makes cupric chloride and can be reused. We've used it to etch circuit boards. Heard it's safer than ferric but don't quote me on that. I'm in no way an expert on this but it's worked pretty well for me.Liquid Cobra wrote: ↑Wed Oct 10, 2018 12:52 pmlegOFwhat? wrote: ↑Wed Oct 10, 2018 8:51 am@LC are you not adding hydrogen peroxide to the acid or rather adding the acid to the peroxide? (always add acid!)
No I’m dipping it in 100% acid. What’s the benefit of the way you’re describing?

Are blade replacements typically available for sprint/exclusive models like this? That's certainly not the news you wanna hear.
Thanks for sharing! Do you mind adding some details on your "container with rocks"? My attempts at stone washing have been satisfactory, but when I did my first acid wash I didn't get nearly as much of a "distressed" look as you did. After thinking I broke my dryer, I switched to a rock tumbler with the Harbor Freight Medium Ceramic Abrasive Polishing Tumbler Media.Liquid Cobra wrote: ↑Wed Oct 10, 2018 6:51 pmThanks. Lots of good info in there. My setup is pretty basic but I did leave out some things I’m doing during the process....
abbazaba wrote: ↑Fri Oct 12, 2018 11:18 amThanks for sharing! Do you mind adding some details on your "container with rocks"? My attempts at stone washing have been satisfactory, but when I did my first acid wash I didn't get nearly as much of a "distressed" look as you did. After thinking I broke my dryer, I switched to a rock tumbler with the Harbor Freight Medium Ceramic Abrasive Polishing Tumbler Media.Liquid Cobra wrote: ↑Wed Oct 10, 2018 6:51 pmThanks. Lots of good info in there. My setup is pretty basic but I did leave out some things I’m doing during the process....
I did a few Kershaws in a similar setup, both by hand and using the laundry dryer. One day I decided to invest in the rotary tumbler and ceramic media hoping to get a "better" look, but I don't think it changed much. After reading a bit, I think a vibration tumbler might give me better results but I've never used one.Liquid Cobra wrote: ↑Fri Oct 12, 2018 1:56 pmabbazaba wrote: ↑Fri Oct 12, 2018 11:18 amThanks for sharing! Do you mind adding some details on your "container with rocks"? My attempts at stone washing have been satisfactory, but when I did my first acid wash I didn't get nearly as much of a "distressed" look as you did. After thinking I broke my dryer, I switched to a rock tumbler with the Harbor Freight Medium Ceramic Abrasive Polishing Tumbler Media.Liquid Cobra wrote: ↑Wed Oct 10, 2018 6:51 pmThanks. Lots of good info in there. My setup is pretty basic but I did leave out some things I’m doing during the process....
I listed ally went and bought a Tupperware container and a bag of smooth multi sized rocks from Canadian tire (think Home Depot). I put the rocks in the container, poured some olive oil in and threw in the blade. I then manually shook it with my arms for 5-10 minutes or so until I was satisfied with the result.
How’s that harbour freight tumbler working out for you? I think I’ll have to invest in one soon.


Liquid Cobra wrote: ↑Wed Oct 10, 2018 6:51 pmThanks. Lots of good info in there. My setup is pretty basic but I did leave out some things I’m doing during the process.
Acetone is used to clean the blade etc, this removes oils and helps with an even etch.
I use gloves the whole time.
I use nail polish to protect the pivot etc, then clear acetone to remove the nail polish. Don’t use coloured acetone that your wife might have as this can cause the nail polish to leave a color residue on your blade. Ask me how I know this.
I dip the blade in pure ferric chloride using a coat hanger then I dip the blade in water with baking soda mixed in to neutralize the acid. I then wipe the blade down with paper towel, this removes black smudge from the etch. I then rinse with water, dry the blade then dip again. I do this over and over until I’m satisfied with the darkness I’ve achieved.
If I etch the screws I only do the top of them by dipping them in very shallow acid so the threads don’t touch and get ruined.
I leave the nail polish on the blade when I throw it into a container with rocks for the stone wash. This protects the pivot from taking a beating as well.
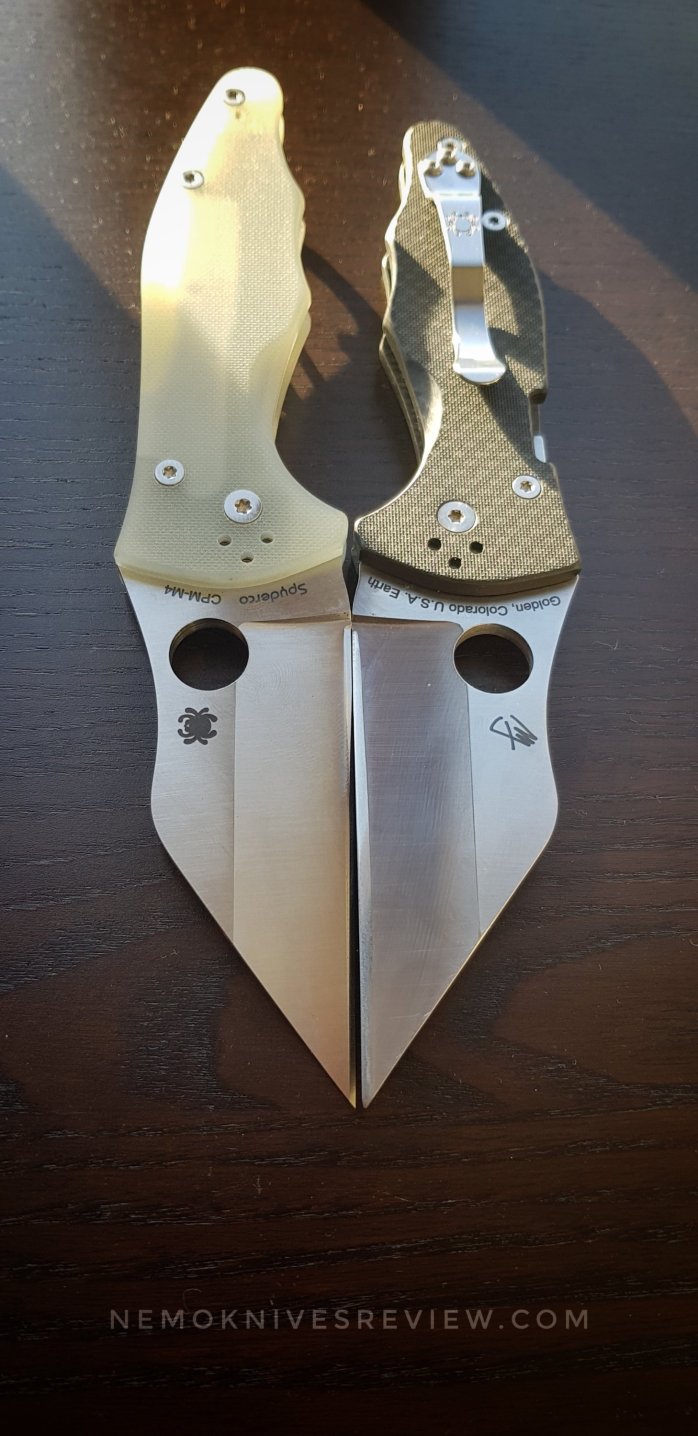
On the yojimbo I didn’t want to resharpen the main bevel so I marked the upper edge of the bevel with tape, then added nail polish to the bevel and removed the tape. This ensured that the bevel didn’t get etched and would not require a sharpen. This extra step was more for my own sake, to see if it would work and it did. After the knife was reassembled all I had to do was touch up the edge with the sharpmaker instead of busting out my edge pro. Here is a pic of the nail polish and how straight I got it using painters tape.
did you touch the blade with your fingers? the unevenness could be from oils in your skin on the blade that prevented the acid from reaching everything evenly.werm000 wrote: ↑Fri Jan 14, 2022 6:46 pmLiquid Cobra wrote: ↑Wed Oct 10, 2018 6:51 pmThanks. Lots of good info in there. My setup is pretty basic but I did leave out some things I’m doing during the process.
Acetone is used to clean the blade etc, this removes oils and helps with an even etch.
I use gloves the whole time.
I use nail polish to protect the pivot etc, then clear acetone to remove the nail polish. Don’t use coloured acetone that your wife might have as this can cause the nail polish to leave a color residue on your blade. Ask me how I know this.
I dip the blade in pure ferric chloride using a coat hanger then I dip the blade in water with baking soda mixed in to neutralize the acid. I then wipe the blade down with paper towel, this removes black smudge from the etch. I then rinse with water, dry the blade then dip again. I do this over and over until I’m satisfied with the darkness I’ve achieved.
If I etch the screws I only do the top of them by dipping them in very shallow acid so the threads don’t touch and get ruined.
I leave the nail polish on the blade when I throw it into a container with rocks for the stone wash. This protects the pivot from taking a beating as well.
On the yojimbo I didn’t want to resharpen the main bevel so I marked the upper edge of the bevel with tape, then added nail polish to the bevel and removed the tape. This ensured that the bevel didn’t get etched and would not require a sharpen. This extra step was more for my own sake, to see if it would work and it did. After the knife was reassembled all I had to do was touch up the edge with the sharpmaker instead of busting out my edge pro. Here is a pic of the nail polish and how straight I got it using painters tape.
I tried to acid etch an m4 blade and followed the exact same protocol you outlined here. However, when I went to dip a second time in the ferric chloride to get it a little darker, the etch was horribly uneven. I ended up sanding down everything with 0000 steel wool which removed the satin finish and made the blade more dull. Then, I tried to start over. The results were even worse... very blotchy. So, I took the steel wool and rubbed some of the darky blotchiness away and thought that maybe M4 is not appropriate for ferric chloride - but, your results prove me wrong. I ended up keeping it this way after some sanding away the dark spots with steel wool.
Side note, I etched the steel liners and that worked no problem - perfectly even. Do you know what I might have done wrong??
beuegBO.jpg