After doing my tutorial on making scales on the router table, I have had several people ask me how to finish them. This is how I do it.
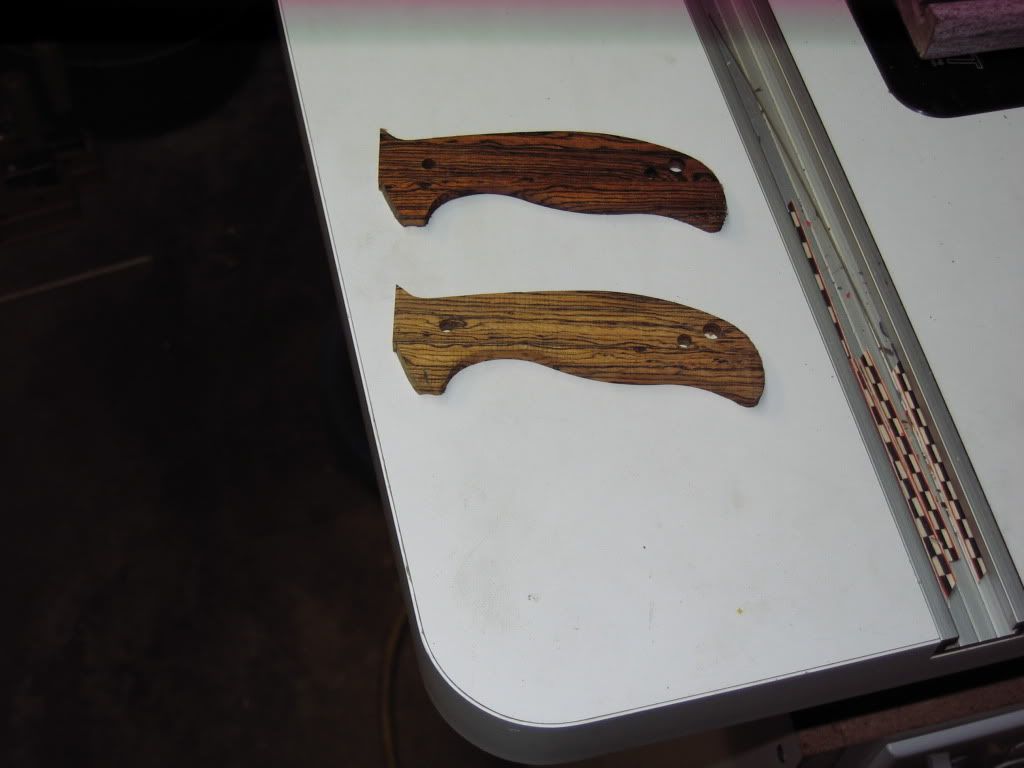
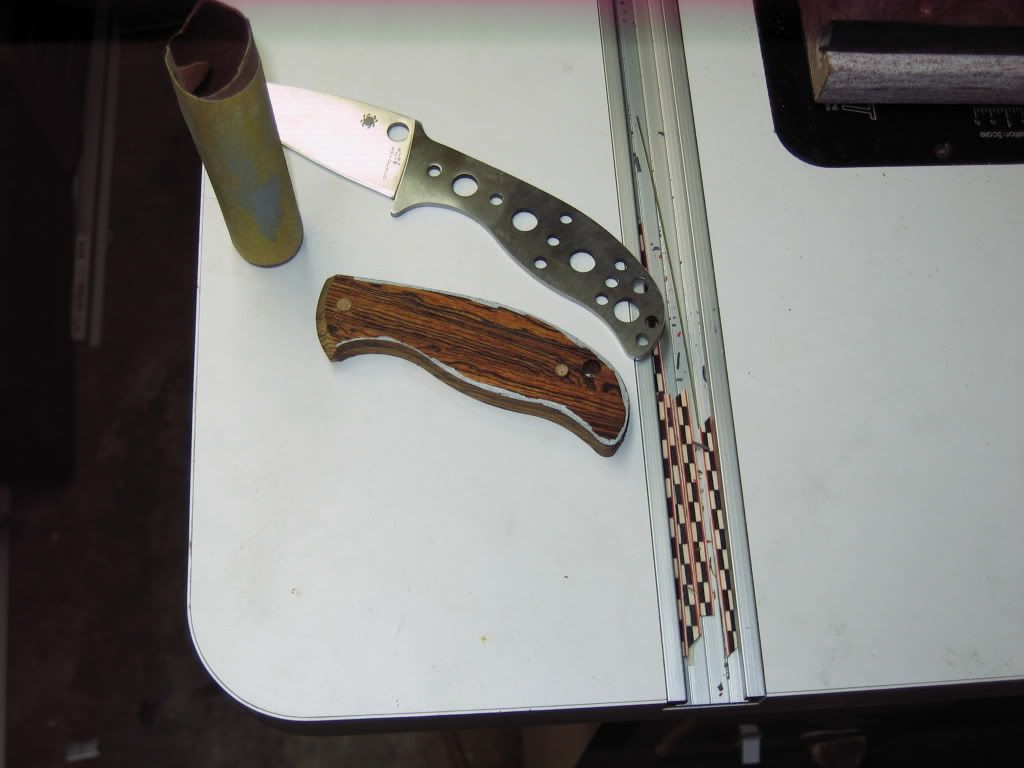
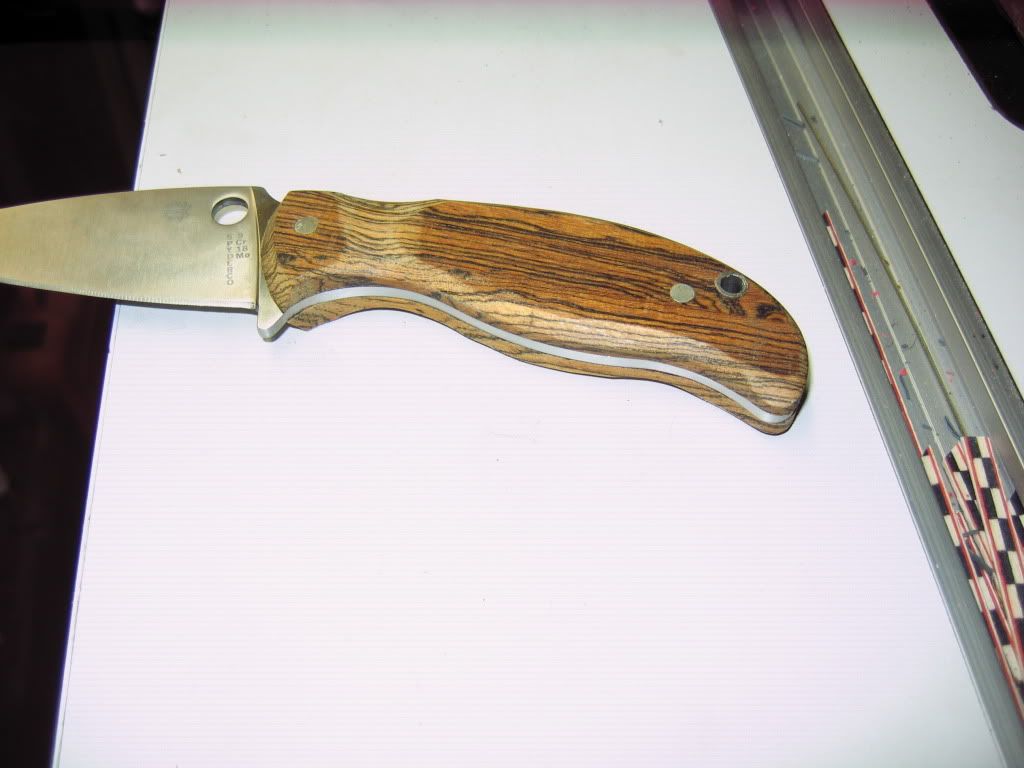
The first picture shows the scales after they come off of the router template. The scale is 1/64th" larger than the knife tang to accomodate for any variations from one knife to the other. The scale also has extra material on the front of it, so you can cut or shape it however you like. You want to shape the front of the scale before you permanently attach it to the knife, because you will not be able to once it is epoxied. The front of these scales will be rounded and beveled.
Bocote Scales after being routed on the template
Scales are marked on the front to be cut
I use wooden dowels in the scales to temperarly hold them together. This makes the cut symetrical on both scales
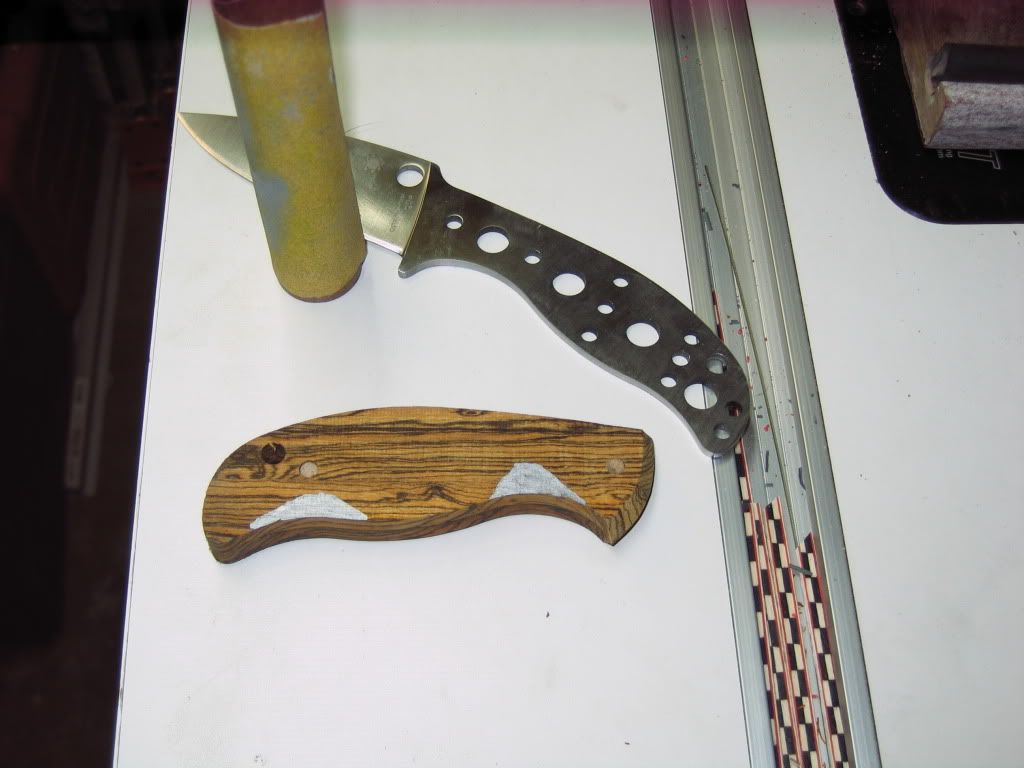
After I cut a curve on the front of the scales, I bevel them
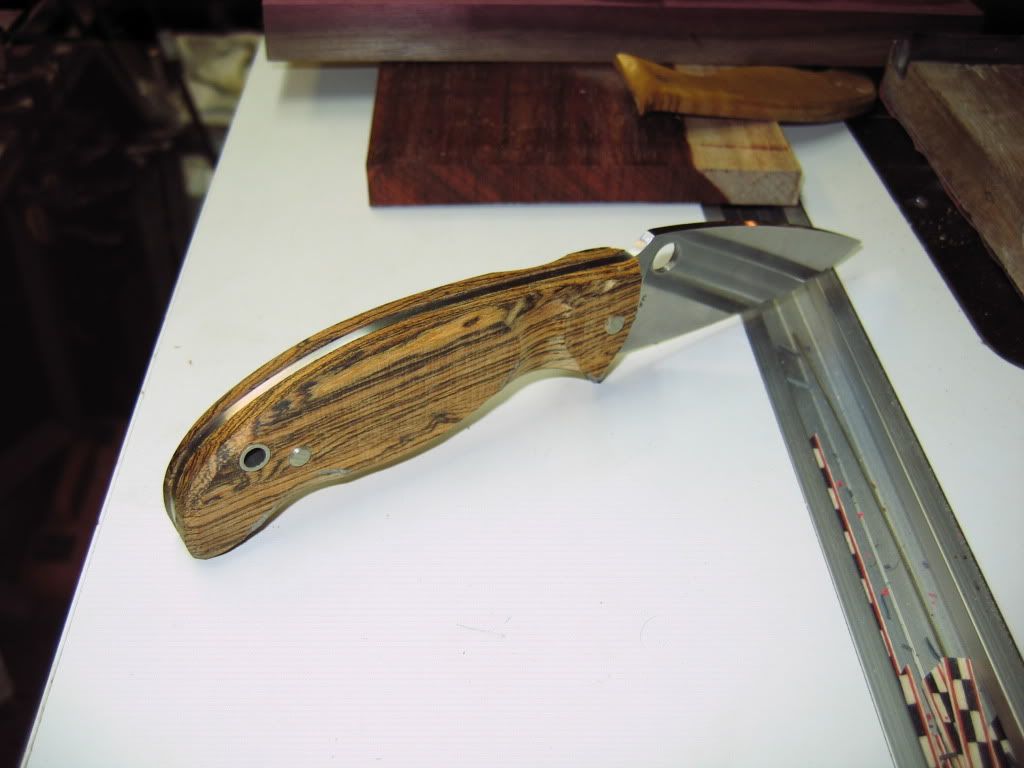
I use a silver sharpie to outline the area I am going to round over
This is a picture of the right side. I am going to use the sanding drum in the picture to rough out this shape. I am going to sand out the silver area for finger clearance
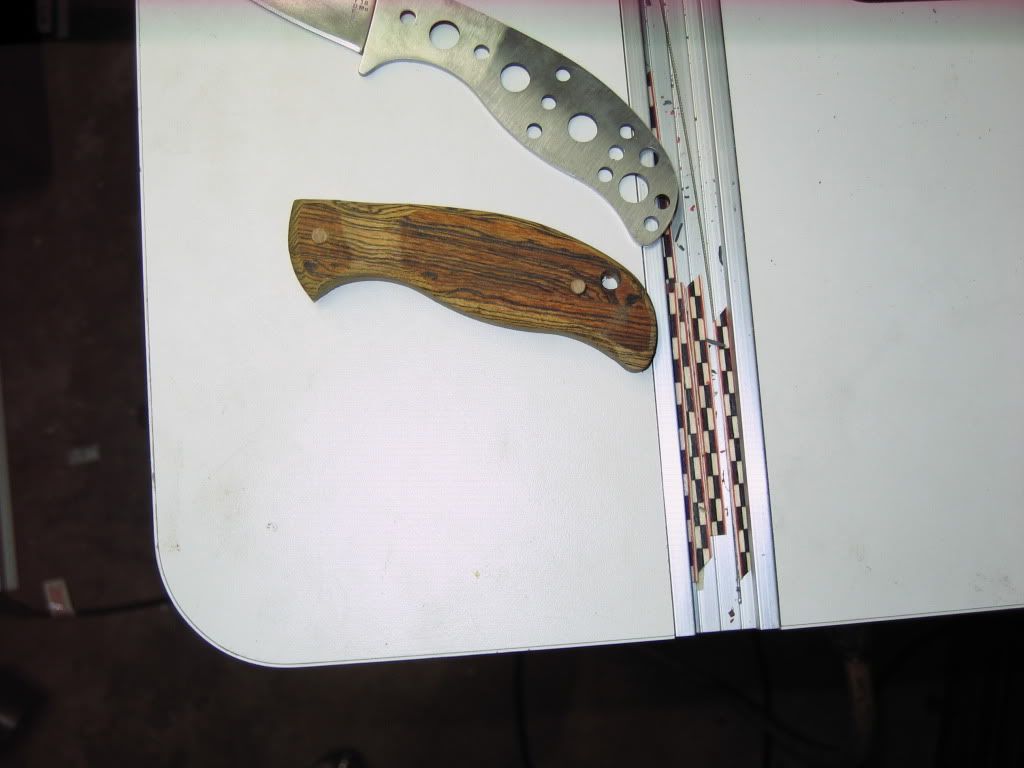
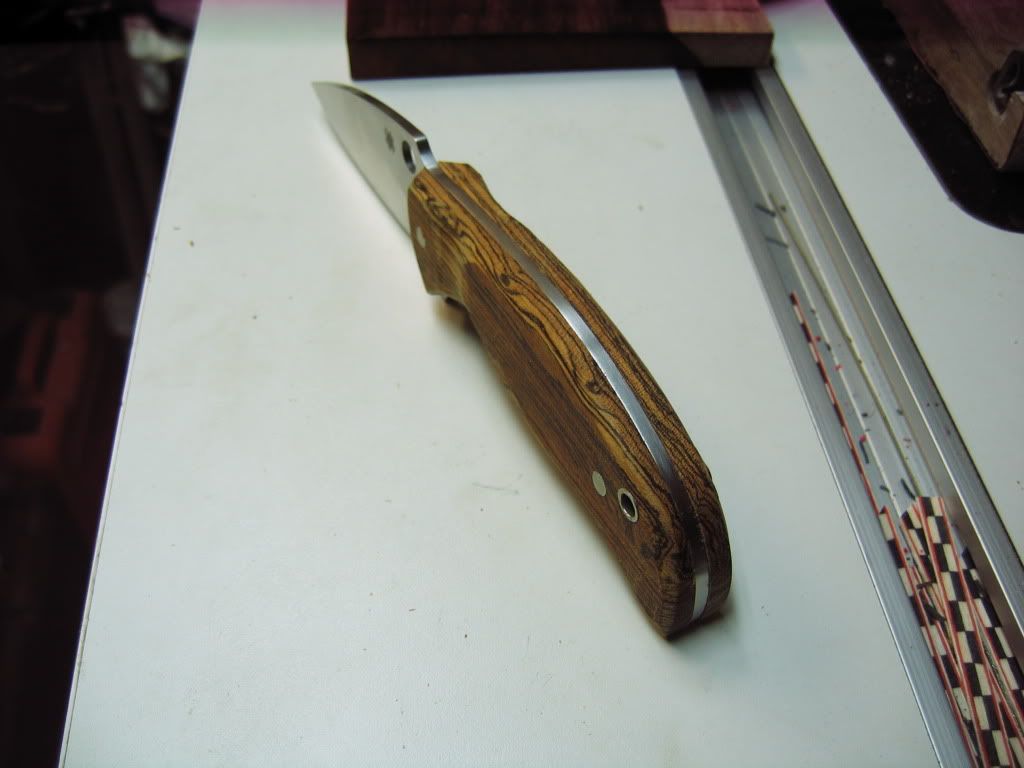
This is the left scale after some mild sanding. The corners have been rounded off
This is the left side after rough sanding. I sand the scales while they are temperarly doweled together. This makes them much easier to hold on to!
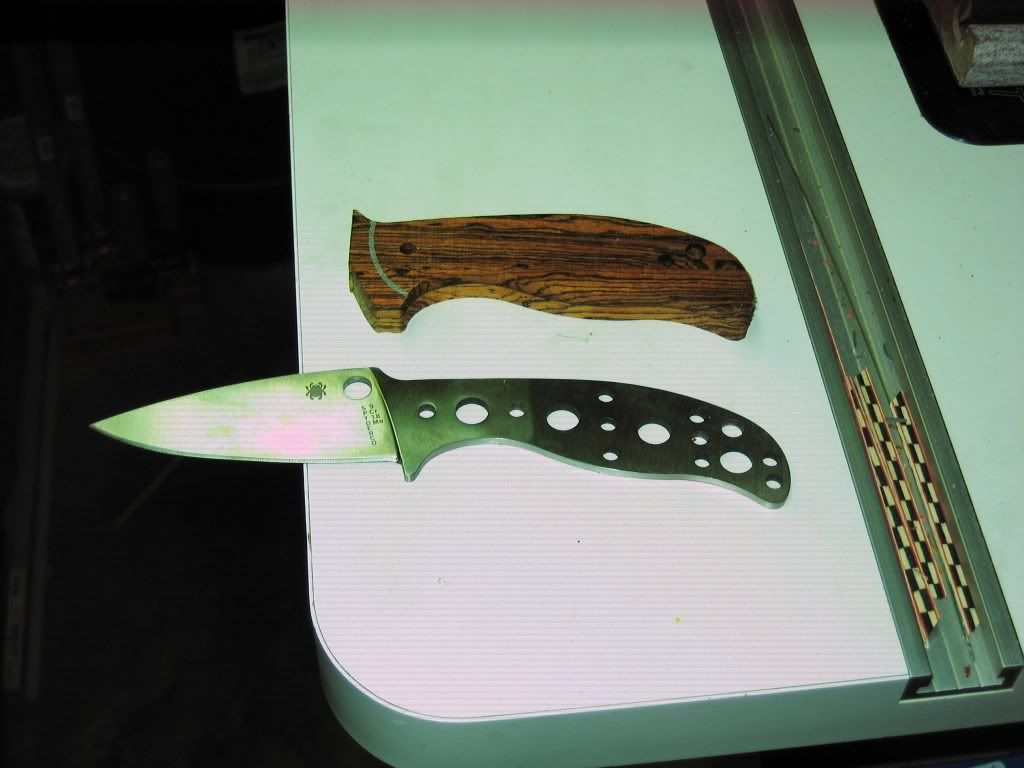
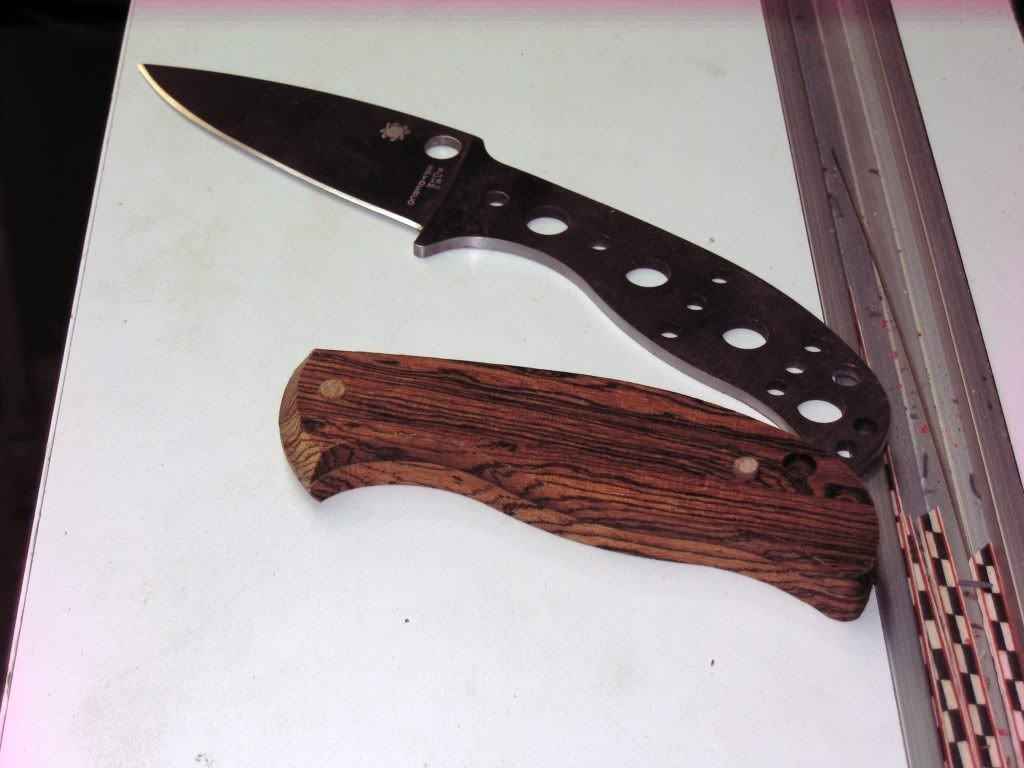
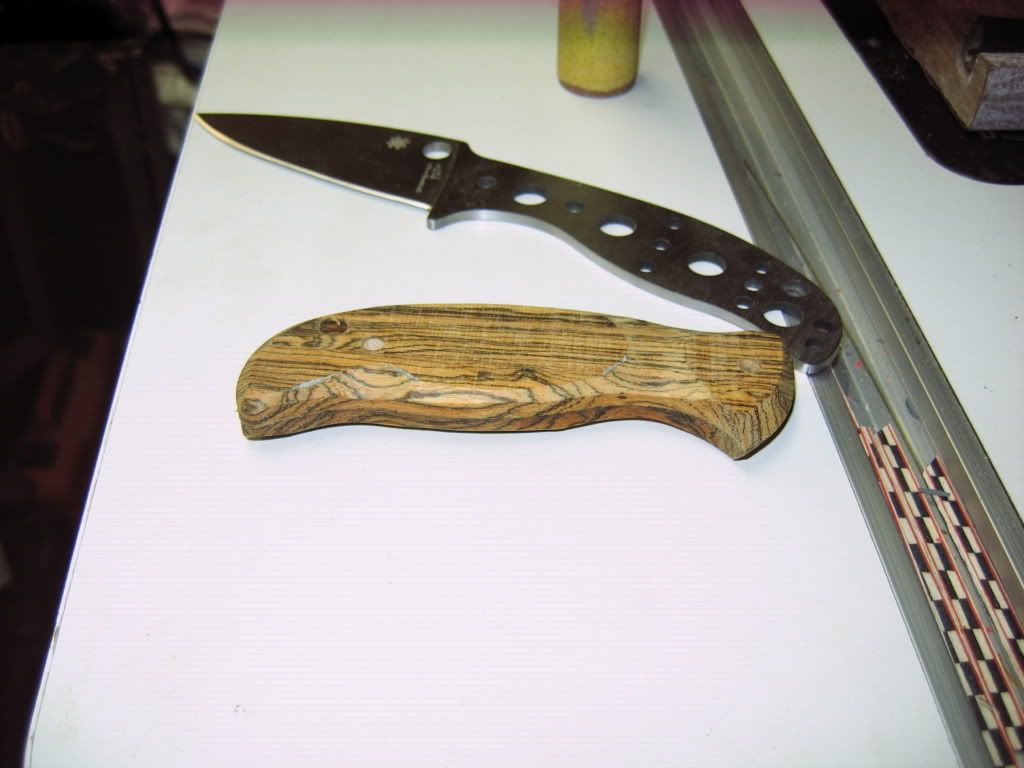
After the scales are sanded to a rough shape, I can fit them to the knife and determine how long the pins and lanyard tube need to be. I try to cut my pins/tube as close as possible to being flush on both sides. This just makes for less sanding/grinding on them later
The knife is now ready to be disassebled and have epoxy put on it
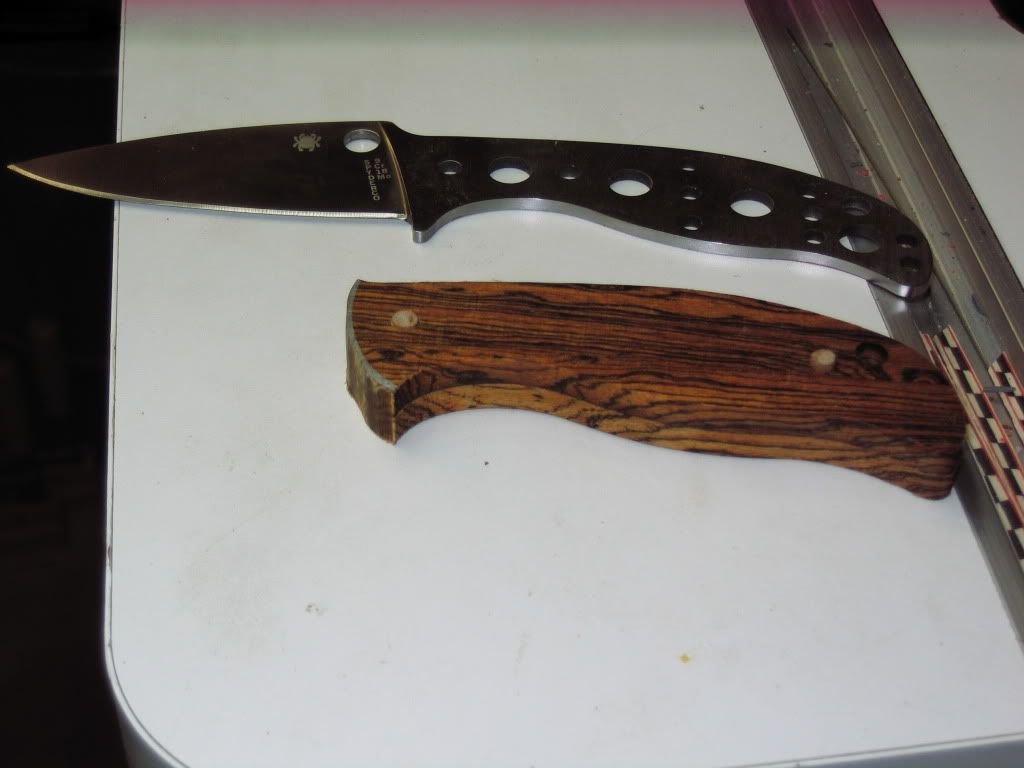
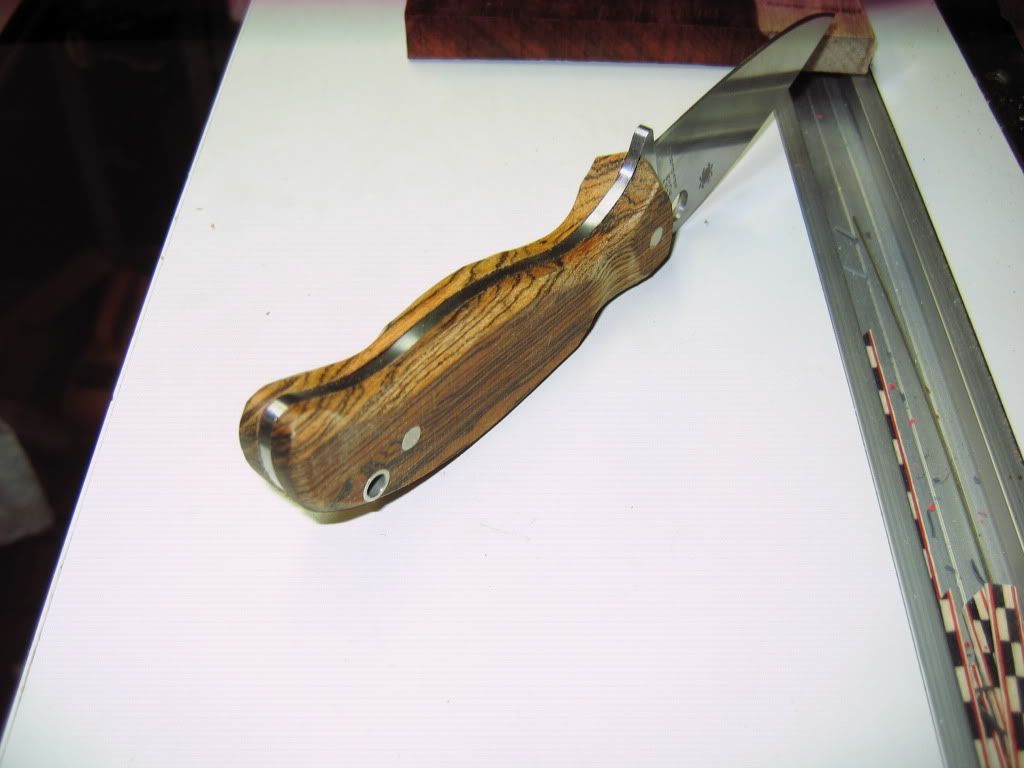
additional pictures Pins and tube are proud on the right side!
Very good pictures of the pins on the right side. They are almost perfectly flush
The last few steps in a nutshell. Mix 30 minute epoxy and spread it on the inside of both scales. Where nitrile gloves so you dont get it on your hands. Assemble the knife with the epoxy, then put the pins and tube in it. Clamp this together and let it dry. After the epoxy dries, you are ready to, sand the scales flush to the tange, blend all the curves on the handle and finish sand it.
This is where you get to be creative. You could use a small sanding drum and make it aligator patterned, you can custom sand it to the size of your hand!
More pictures to come! (got to get the wife to take pics, I do not want to get epoxy on the camera during the next few steps)
Thanks for the tutorial info. The only suggestion I would make is taping up the blade while working on the knife, as it reduces the chances of getting cut.
Great info. To this point the blade is not attached to the scales. All the work to the scales has been done off the knife. After the blade is epoxied to the handle, it will be taped for final sanding and finishing.
JacksonKnives wrote:Any particular reason you don't peen ("mushroom") the pins?
Daniel,
My understanding is that Peening pins is traditional in metal material. For instance. If the knife had a brass finger guard or bolster, this would be the way you attach it.
In the case of the mule, you epoxy glue the scales on, and sand the pins flush afterwards. The pins facilitate locating the scales during the gluing process. They also give horizontal support to the scales, in reference to the tang when it is vertical.
The following is totally personal opinion, no offense intended, but I would never epoxy scales on. I had a pair epoxied on - for use with screw-together pins that I removed before doing the following - and was able to easily knock them off. The glue was JB Weld, which is good expoxy, and wood and metal were properly prepped, glue properly mixed. The pins would minimize shear force, which is how I knocked these off the tang, but it confirmed my unease about using only glue to bond the scales. YMMV, though.
My understanding is that Peening pins is traditional in metal material. For instance. If the knife had a brass finger guard or bolster, this would be the way you attach it.
In the case of the mule, you epoxy glue the scales on, and sand the pins flush afterwards. The pins facilitate locating the scales during the gluing process. They also give horizontal support to the scales, in reference to the tang when it is vertical.
Hector, you have it right.
Daniel - Peening is more common with metal, say like a bolster. Sometimes, they would use washers to hold the scales down, and then they would peen the pins into the washers...
Peening with just wood scales would increase the chances that the wood might crack.
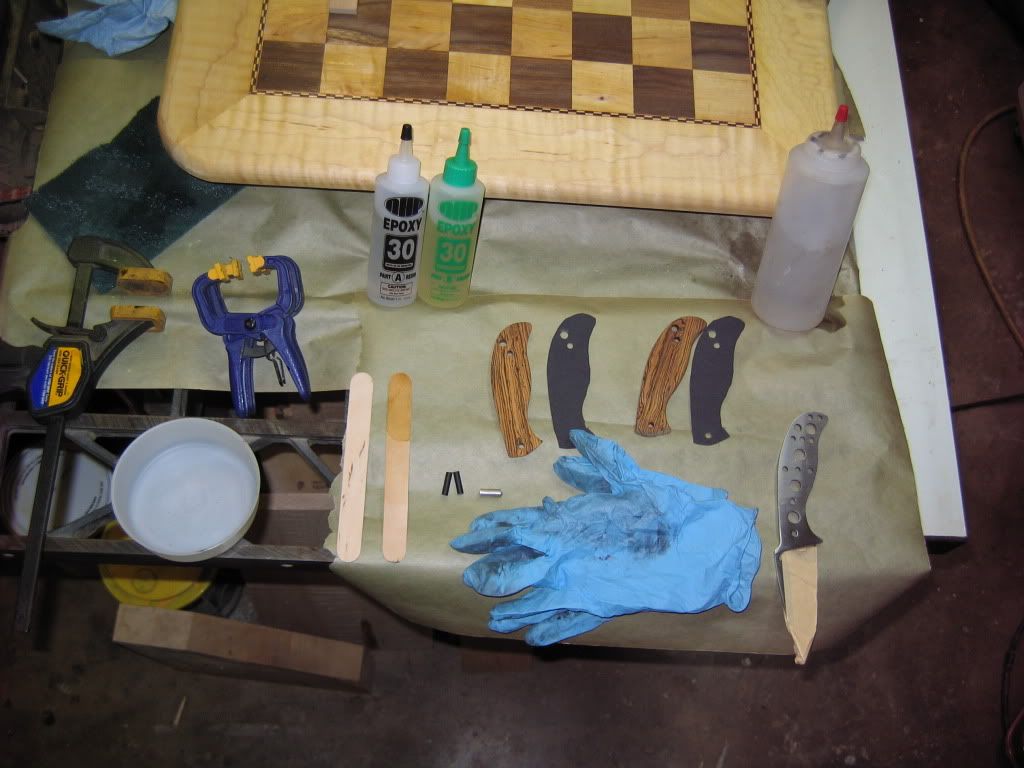
Here is all the stuff required to epoxy the handles on. I use nitrile gloves, plastic bowl (to mix epoxy in), epoxy, stir sticks(mix and apply epoxy), paper towels, alcohol (to clean up epoxy before it sets), clamps to hold everything together.
The pins, scales, spacers, lanyard tube, and knife have all been cleaned with denatured alcohol at this point.
Hi!
I've receive H.Ti scale G10, i would like to know...
There's a screw pack wiht the set... did i have to epoxy the scale before screw them?
How to clean or shine G10 scale? I got an orange set... but the color is better on the back then on the front... on the front texture looks like orange as salmon color.
Did G10 is easy to drill for a lanyard hole?
To date, I've cut my scales by hand. I've pondered Hector's method for a while now. I'm terrifically scared to use a template bit (bit with roller bearing on top) to cut the scales. The thought of carbide blades spinning at 20k rpm and coming in contact with hardened steel knife blank gives me nightmares. So, I bought a very cheap pin router arm (Daisy) and installed it on my cast iron router table Tuesday night. With a pin router arm, an arm extends over the router table, and a pin the same width as the router bit is aligned with the bit so that, with a scrap wood spacer screwed in between the scale material and the blade blank, there is 1/2 between router cutting edge and steel blank. No joy yet. The POS inexpensive router arm allows a little movement of the template pin--at least when the pin is raised or lowered--so that the cut scales are off bet 1/16 and 3/32. Not good enough. I'm going to try again this weekend. I hope it works. I really want to do matching gun grips and knife scales, and the pin router method, if successful, will in my opinion make the whole process quicker, easier and safer.
If I can't get them made with the pin router arm, I will armor up and make a corian template using Hector's method--and then cut scales using a traditional template bit.
Remember that the blade doesn't come close to the knife when spinning, using the method shown. The bearing simply rolls along the knife at its own speed and the bit spins happily above the knife stock by about 1/16 or so. Plenty of clearance to keep bits of steel from becoming air soluble in your shop. A good face mask might not be a bad investment all the same though. Safety first after all.
2cha wrote:To date, I've cut my scales by hand. I've pondered Hector's method for a while now. I'm terrifically scared to use a template bit (bit with roller bearing on top) to cut the scales. The thought of carbide blades spinning at 20k rpm and coming in contact with hardened steel knife blank gives me nightmares. So, I bought a very cheap pin router arm (Daisy) and installed it on my cast iron router table Tuesday night. With a pin router arm, an arm extends over the router table, and a pin the same width as the router bit is aligned with the bit so that, with a scrap wood spacer screwed in between the scale material and the blade blank, there is 1/2 between router cutting edge and steel blank. No joy yet. The POS inexpensive router arm allows a little movement of the template pin--at least when the pin is raised or lowered--so that the cut scales are off bet 1/16 and 3/32. Not good enough. I'm going to try again this weekend. I hope it works. I really want to do matching gun grips and knife scales, and the pin router method, if successful, will in my opinion make the whole process quicker, easier and safer.
If I can't get them made with the pin router arm, I will armor up and make a corian template using Hector's method--and then cut scales using a traditional template bit.
Did you read my other tutorial? I do not use the actual blade to make the scales. I use the blade once, to make a template, then route all my scales on the template. I also put a layer of masking tape on the outer edge of the template to make the scale a 64th larger than the actual handle, to accomadate for any variance, blade to blade.